
Creative Arts
Learn 4 Amazing Skills, in a Single Program
Course Overview
Explore Creative Arts (1-Month Intensive Course)
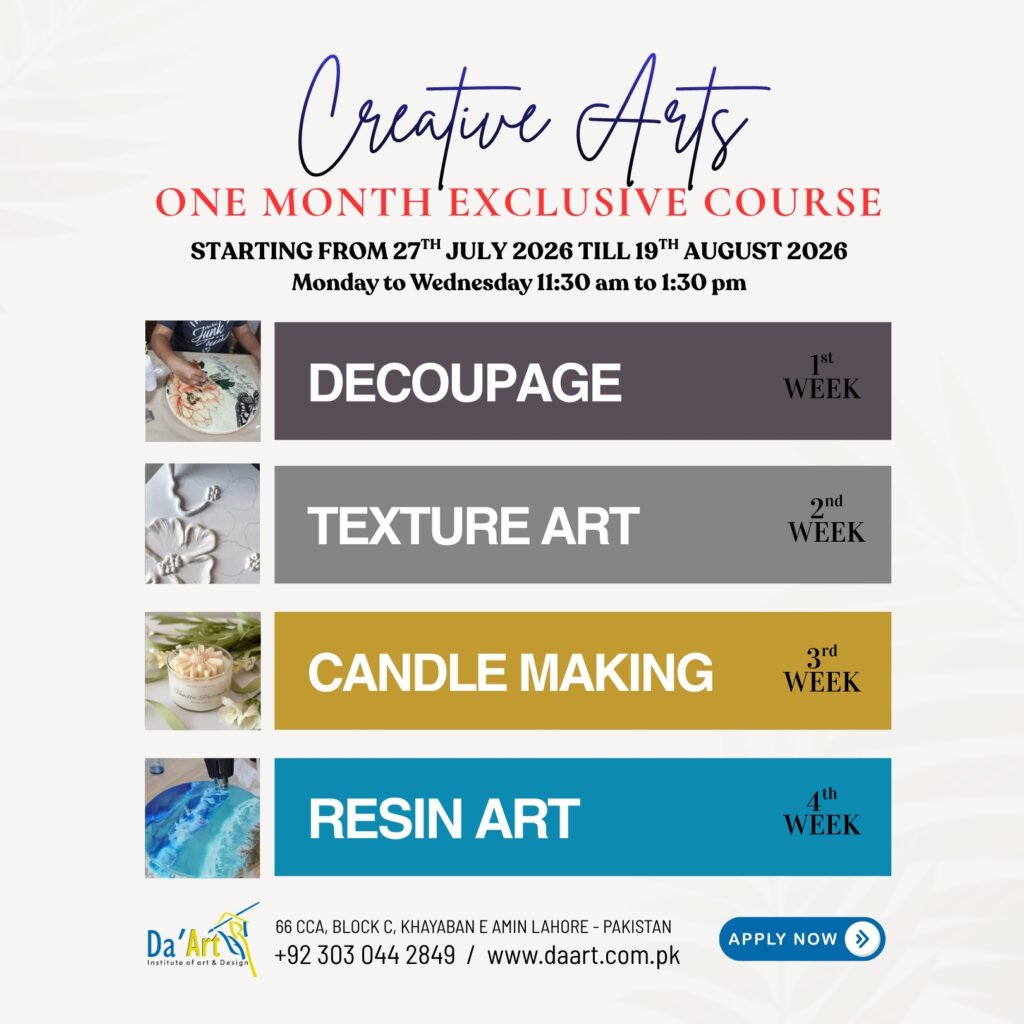
Over the next month, you will master the fundamentals of four diverse creative arts: Texture Painting, Candle Making, Decoupage, and Resin Art.
This intensive course provides you with a comprehensive creative foundation. You will learn about the specialized materials, expert working methods, and final project execution for each technique, empowering you to express your artistry and launch your creative journey across multiple mediums.
What You Will Explore:
-
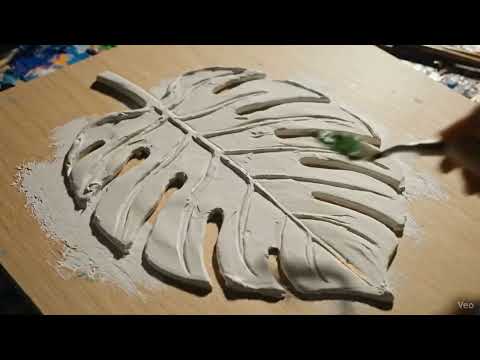
Texture Painting: Master the art of depth, layers, and sculptural canvas techniques.
-
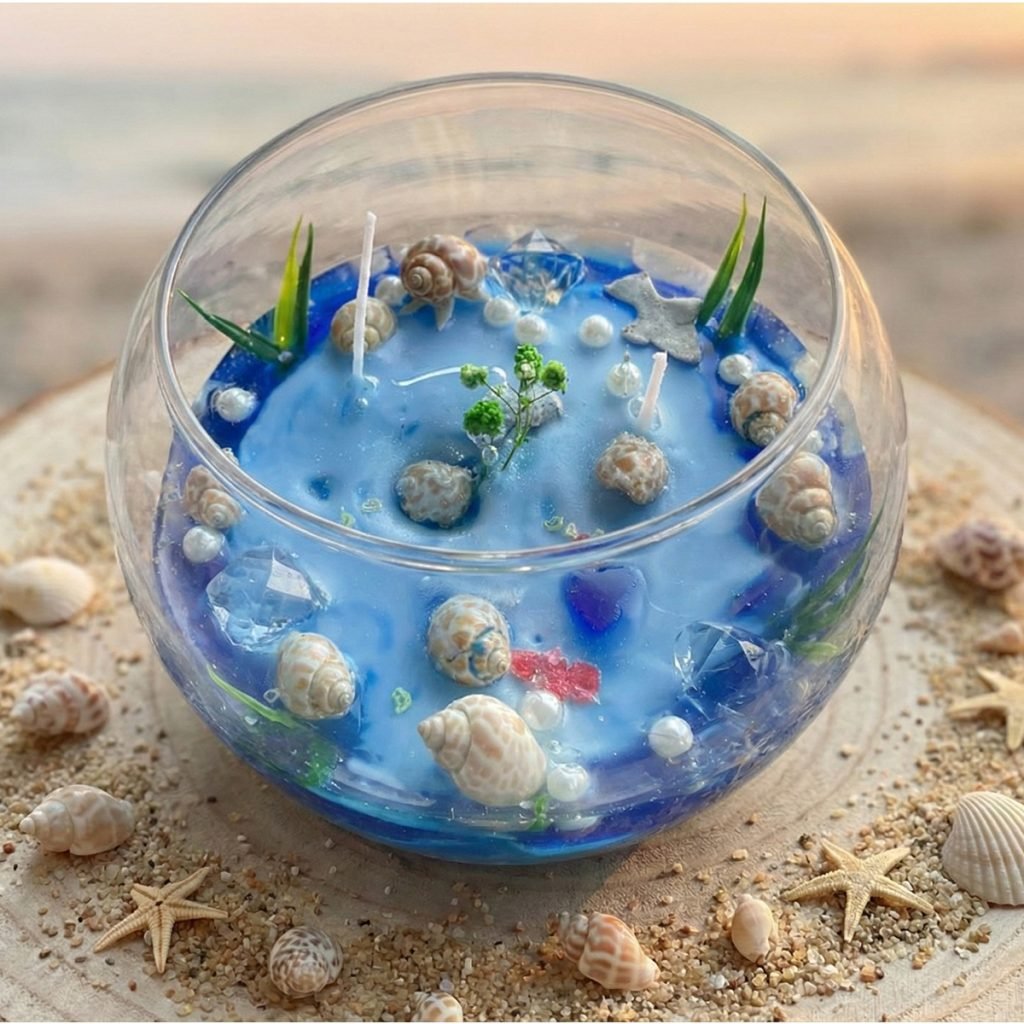
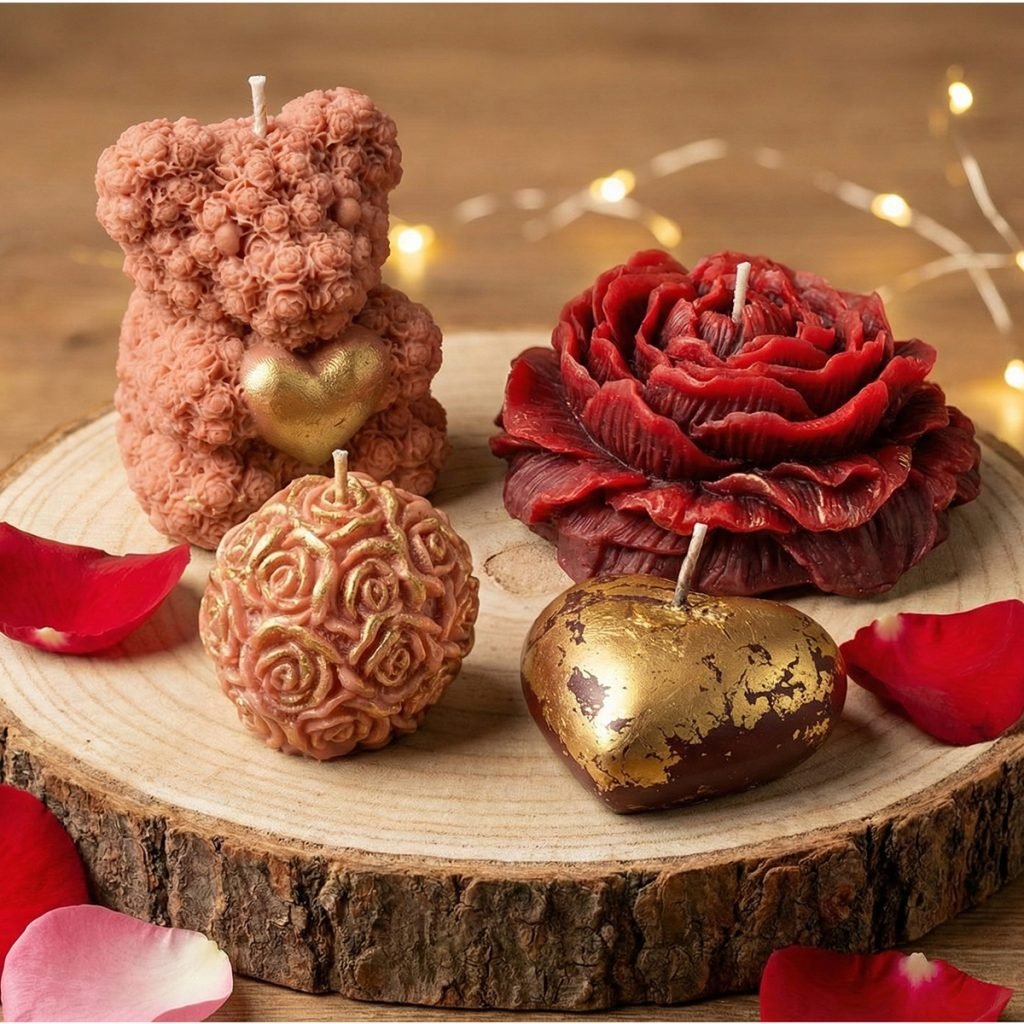
Candle Making: Learn the traditional techniques and creative aesthetics of crafting beautifully scented, styled candles.
-
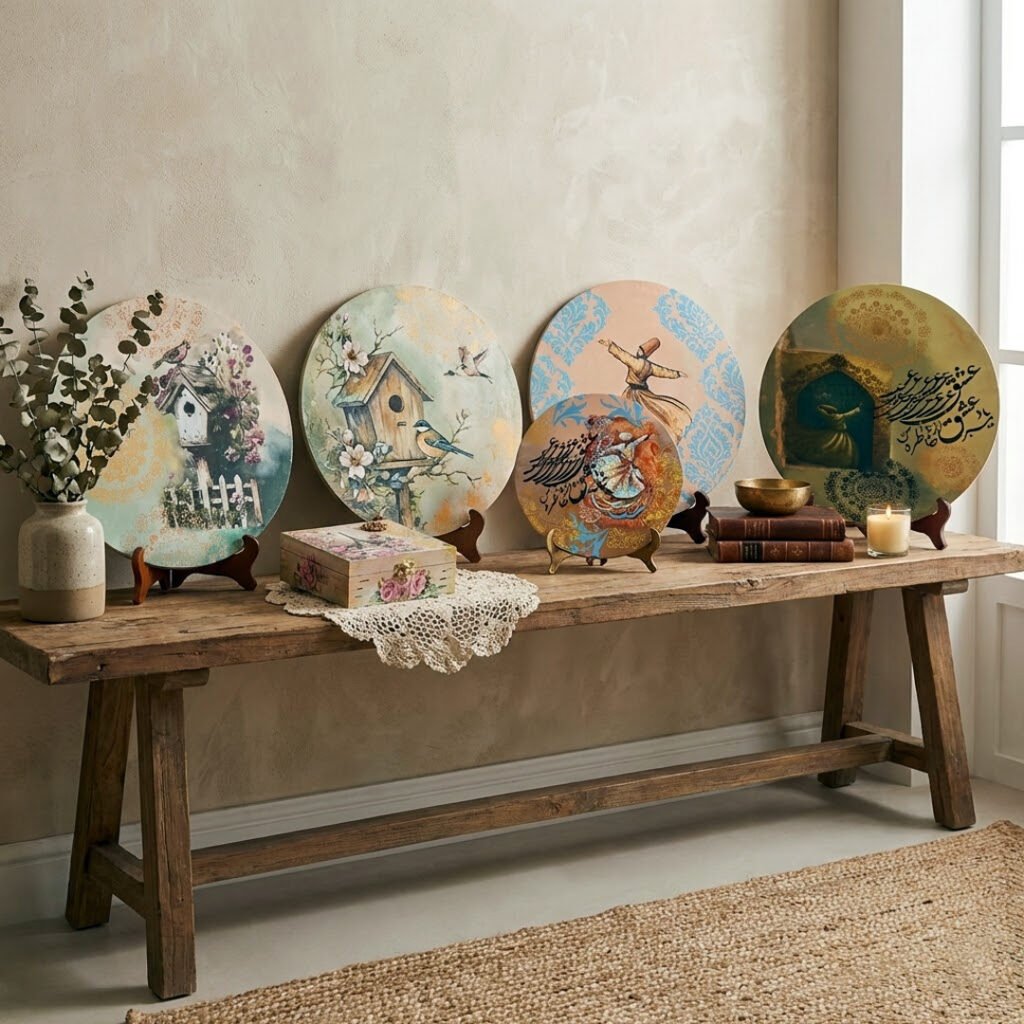
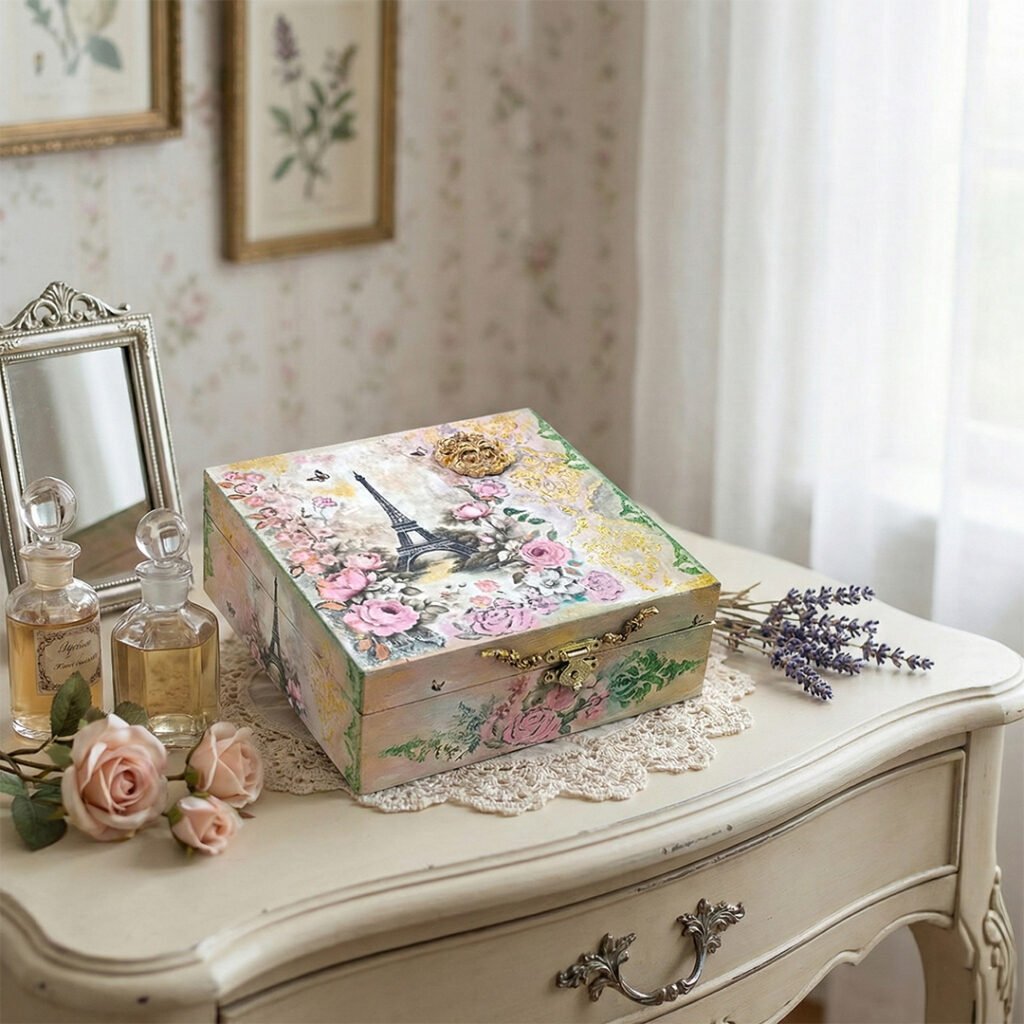
Decoupage: Discover the skill of professional paper layering and surface transformation.
-
Resin Art: Control the medium to create glossy, crystal-clear, and modern fluid masterpieces.
Course Outline
Explore Creative Arts (1-Month Intensive Course)
Over the next month, you will master the fundamentals of four diverse creative arts: Texture Painting, Candle Making, Decoupage, and Resin Art.
This intensive course provides you with a comprehensive creative foundation. You will learn about the specialized materials, expert working methods, and final project execution for each technique, empowering you to express your artistry and launch your creative journey across multiple mediums.
What You Will Explore:
Texture Painting: Master the art of depth, layers, and sculptural canvas techniques.
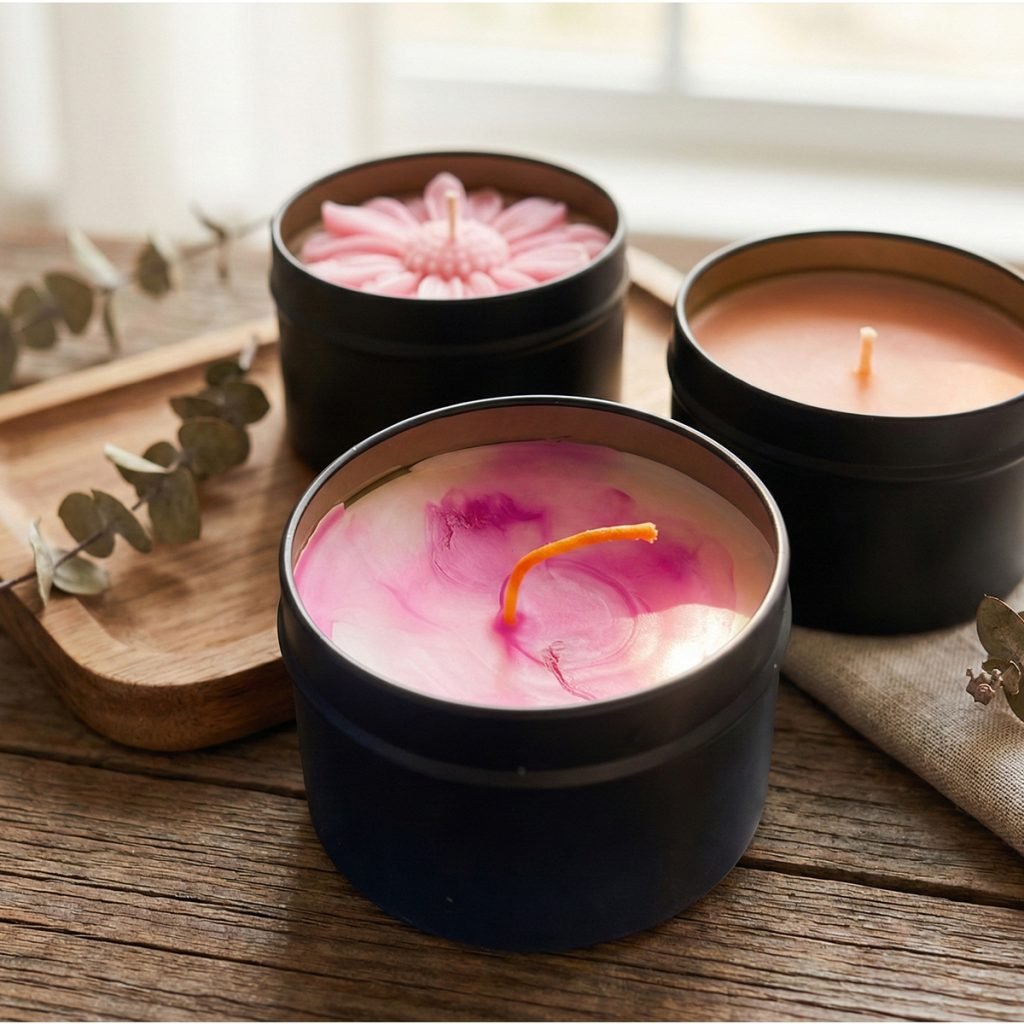
Candle Making: Learn the traditional techniques and creative aesthetics of crafting beautifully scented, styled candles.
Decoupage: Discover the skill of professional paper layering and surface transformation.
Resin Art: Control the medium to create glossy, crystal-clear, and modern fluid masterpieces.
Objective:
This course will introduce students to the art of decoupage on two different mediums: a flat surface and a curved surface. Participants will learn how to prepare surfaces, apply paper, and use paints and other decorative elements to create finished, varnished pieces.
Duration:
3 Days
Required Materials:
Surface: MDF Base (for Circle Art) & Vase (Ceramic)
Paper: Rice paper or decoupage paper
Adhesives: Decoupage glue (e.g., Mod Podge)
Paints: Acrylic paints
Brushes: Various sizes for glue and paint, Sponge daubers (for vase blending)
Tools: Palette knife, Scissors
Stencils: Assorted designs
Finishing: Gold leaf, Varnish (lacquer spray)
Preparation: Gesso (and Multi-surface Primer if using Glass Vases)
Course Outline & Schedule:
MDF Project – Introduction, Preparation & Application
Topics:
A brief introduction to the process of decoupage.
How to prepare a porous surface (MDF) with gesso for a smooth base.
Demonstration of applying rice paper or decoupage paper using decoupage glue.
Practical Work:
Students will prepare their MDF object with gesso and allow it to dry.
Students will then apply their chosen paper cut-outs to the MDF surface.
MDF Project – Painting, Detailing & Finishing
Topics:
Techniques for applying and blending paints to complement the paper design on a flat surface.
How to add details using stencils and gold leaf.
The final step of applying a varnish or lacquer spray for a protective, finishing touch.
Practical Work:
Students will paint and add decorative details to their MDF objects.
Once dry, they will apply the final coat of varnish.
Vase Project – Curved Surface Techniques
Topics:
Introduction to working on non-porous and curved surfaces (Glass/Ceramic).
Surface preparation specifically for vases (Cleaning and Priming).
Techniques for applying paper to a curve without wrinkles (cutting darts/slits).
Practical Work:
Students will clean and prime their vases to ensure paint adhesion.
Students will cut their designs and apply them to the curved surface of the vase using the correct techniques.
Vase Project – Blending & Final Touches
Topics:
Blending paints on a curved surface using sponge daubers to create a seamless look.
Adding borders or rim detailing using Gold Leaf.
Sealing the vase for durability.
Practical Work:
Students will blend acrylic colors around their paper design on the vase.
Application of Gold Leaf on the vase rim.
Final varnishing of the completed Vase.
Final Projects:
By the end of the course, students will complete two distinct projects:
MDF Circle Art Piece: Showcasing surface prep and flat-lay composition.
Decoupage Vase: Showcasing the ability to handle curved surfaces and glass/ceramic mediums.
Objective:
This course aims to introduce students to the fundamentals of texture painting. Participants will learn to create tactile and three-dimensional effects by preparing their own texture mediums. The workflow is designed to build confidence by completing a smaller piece first before applying the techniques to a large-scale statement piece.
Duration:
3 Days
Required Materials:
Surface: MDF Boards (1 Small Round Shape & 1 Big Size Sheet)
Base: Gesso
Texture Medium: Moulding Texture Paste (or ingredients to make it: Chalk powder/Wall putty, White glue, White acrylic paint)
Tools: Palette Knives, Scrapers, Brushes (various sizes)
Paints: Acrylic Paints (Assorted Colors)
Finishing: Gold Leaf Paper, Gold Size (Glue)
Course Outline & Schedule:
Introduction & Small Project Initiation
Topics:
A comprehensive overview of texture paints and different painting styles.
Recipe and demonstration: How to make homemade Moulding Texture Paste.
Techniques for using palette knives to create basic and advanced strokes.
Practical Work:
Small Project: Students will prepare the Small Round MDF surface.
Students will mix their texture paste and apply the design/texture immediately to the Small Round MDF.
The small piece is left to dry overnight to be ready for painting the next day.
Small Project Completion & Big Project Start
Topics:
Color theory for texture: How to paint over high-relief surfaces to create depth.
Introduction to Gold Leaf application for highlights.
Scaling up: How to translate a design onto a larger surface.
Practical Work:
Small Project (Finish): Students will paint, detail, and apply Gold Leaf to their Small Round MDF, completing the first project.
Big Project (Start): Students will prepare the Big MDF Sheet (Gesso) and apply the texture paste design.
The large piece is left to dry completely for the next session.
Big Project – Painting & Depth
Topics:
Advanced painting techniques: Wet-on-wet blending and dry brushing to highlight texture peaks.
Managing color composition on a large scale.
Practical Work:
Big Project: Students will begin painting their dried large textured board.
Focus will be on building base layers and adding shadow depth to the 3D elements.
Big Project – Detailing & Finishing Touches
Topics:
Fine detailing and error correction.
Strategic placement of Gold Leaf on large artworks.
Final varnish and preservation of the artwork.
Practical Work:
Big Project: Students will add the final highlights and Gold Leaf accents.
Final inspection and varnishing of the Big MDF Sheet.
Presentation of both the Small and Big completed projects.
Final Projects:
By the end of this course, students will take home two complete texture paintings based on their chosen designs or reference images:
Small Round Texture Art: Completed early in the course to master the technique.
Big Statement Art Piece: A large-scale project demonstrating full mastery of texture and composition.
Objective
This course is designed to introduce students to the complete art and craft of candle making — from foundational techniques to advanced, business-ready skills. By the end of the course, students will be able to confidently create a variety of candles, including scented, colored, container, and decorative candles, while understanding proper wax handling, wick selection, fragrance blending, and troubleshooting common candle-making issues. The course also aims to equip students with basic branding and small-business skills, enabling them to package, price, and sell their own handmade candle collection.
Materials Required for Candle Making
- Wax
- Soy wax
- Paraffin wax
- Beeswax
- Gel wax
- Wicks
- Cotton wicks
- Eco 80 wicks
- Wick stickers / wick holders
- Containers / Molds
- Glass jars
- Metal tins
- Silicone molds
- Fragrance Oils
- Scented fragrance oils
- Colors
- Liquid candle dye
- Wax color chips
- Pigment powder
- Tools
- Wax heater
- Thermometer
- Stirring spoon / stick
- Heat gun
- Spatula
- Decorations
- Dried flowers
- Glitter
- Botanical elements
- Sea shells
Introduction & Basics
- Goal: Learn the basic things about candle making.
- Topics:
- What is candle making.
- Types of candles (jar, pillar, tealight, scented, decorative).
- Tools and materials you need.
- Types of wax (soy, paraffin, beeswax).
- Wicks, jars, colors, and fragrances.
- Safety rules.
- How to melt and pour wax (simple demo).
- Activity: Make your first simple candle.
Scented & Colored Candles
- Goal: Learn how to add color and fragrance.
- Topics:
- Difference between fragrance oils and essential oils.
- How to mix scents and use the right amount.
- Coloring techniques (solid color, ombre, layers).
- Temperature control for better smell.
- Common mistakes and how to fix them.
Activity: Make your first scented and colored candle
Decorative & Container Candles
- Goal: Learn to make pretty and well-finished candles.
- Topics:
- Types of containers (glass jars, tins, cups).
- How to choose the right wick size.
- Decoration ideas (flowers, glitter, patterns).
- Simple label and packaging tips.
- Topics:
Activity: Make your own decorative candle and decorate it.
Advanced Skills & Business Tips
- Goal: Learn creative and business side of candle making.
- Topics:
- Advanced designs (layered, marble, botanical candles).
- Fixing problems (tunneling, frosting, cracks).
- How to start a small candle business.
- Pricing, branding, and packaging ideas.
- How to sell on Instagram or at small events.
- Topics:
- Activity:
- Make your final "signature" candle.
- Show your candle and get feedback.
- Activity:
Final Workshop Project: The Candle Collection
- The Shaped Candle A free-standing molded candle focusing on structural integrity and a smooth surface finish.
- The Scented Candle A fragrance-infused candle that demonstrates proper oil calculation and effective scent distribution.
- The Jar Candle A container candle emphasizing precise wick centering and smooth adhesion to the glass.
- The Decorative Candle An artistic piece designed for visual impact using techniques like layering, carving, or texturing.
Objective:
This intensive 3-day workshop will guide students through the fascinating world of resin art. Participants will master the fundamentals of mixing ratios, safety, and pouring techniques while creating three distinct functional and decorative masterpieces. The course covers everything from base preparation to advanced geode effects and hardware assembly.
Duration:
3 Days
Required Materials:
Surfaces (MDF):
14-inch Round Base (for Wall Clock)
18 x 24-inch Abstract/Rectangular Base (for Calligraphic Geode)
10-inch Round Base (for Tray)
Chemicals: Epoxy Resin & Hardener (High gloss)
Colorants: Mica Powders (3+ colors), Golden & Silver Floating Powder, Pigment Pastes
Embellishments: Crushed Glass, Crystals/Stones, Glitters (Chunky & Fine), Acrylic Calligraphy Cutout (e.g., an Ayat)
Hardware: Clock Mechanism & Hands, Tray Handles
Tools: Heat Gun, Torch (for bubble removal), Weighing Scale, Masking Tape, Leveler
Consumables: Paper Cups, Ice Cream Sticks, Nitrile Gloves, Plastic Drop Sheets
Course Outline & Schedule:
Resin Basics & The Round Tray
Topics:
Introduction to Resin: Understanding Epoxy vs. Hardener, mixing ratios (by weight vs. volume), and essential safety measures.
Workspace Prep: Leveling the surface and taping the backs of MDF boards (drip protection).
Technique: Basic pouring, marble effects, and cell creation using a heat gun.
Practical Work:
Students will prepare all three MDF bases (priming/taping).
Project Focus: Students will mix and pour their 10-inch Round Tray, experimenting with their first color palette and creating a marble or ocean effect.
Functional Art – The Wall Clock
Topics:
Functional Art: designing for utility (considering hand movement and numbers).
Numbers & Markers: How to embed numbers or place markings effectively.
Lacing Technique: Creating "ocean waves" or "cloud" effects using white pigment and air manipulation.
Practical Work:
Project Focus: Students will pour the 14-inch Wall Clock.
They will learn to merge colors seamlessly and use a heat gun to create lacing effects or geode lines on the clock face.
The Masterpiece – Calligraphic Geode
Topics:
Geode Art: Simulating natural stone textures using crushed glass, crystals, and glitter lines.
Negative Space: Planning the layout to accommodate the Acrylic Calligraphy.
Embedding: Techniques for securing heavy elements (stones) and delicate elements (acrylic cutouts).
Practical Work:
Project Focus: Students will create the 18 x 24-inch Calligraphic Geode.
They will arrange the crushed glass/crystals borders, pour the pigmented resin layers, and carefully place the Acrylic Calligraphy into the wet (or tacky) resin.
Assembly, Finishing & Top Coats
Topics:
The Perfect Finish: Sanding rough edges and applying a final flood coat (clear topcoat) if necessary.
Detailing: Painting the edges with Gold/Silver leaf or liquid chrome.
Assembly: Installing the clock machine and attaching handles to the tray.
Practical Work:
Finishing: Students will remove tape from the back of dried pieces.
Gold Detailing: Painting the edges of the Geode, Clock, and Tray with gold/silver.
Hardware: Installing the clock hands and screwing in the tray handles to complete the projects.
Final Projects:
By the end of this workshop, students will take home three professional-grade items:
10-Inch Round Resin Tray: A stylish, usable serving tray with handles.
14-Inch Resin Wall Clock: A functional time-piece customized with unique colors and effects.
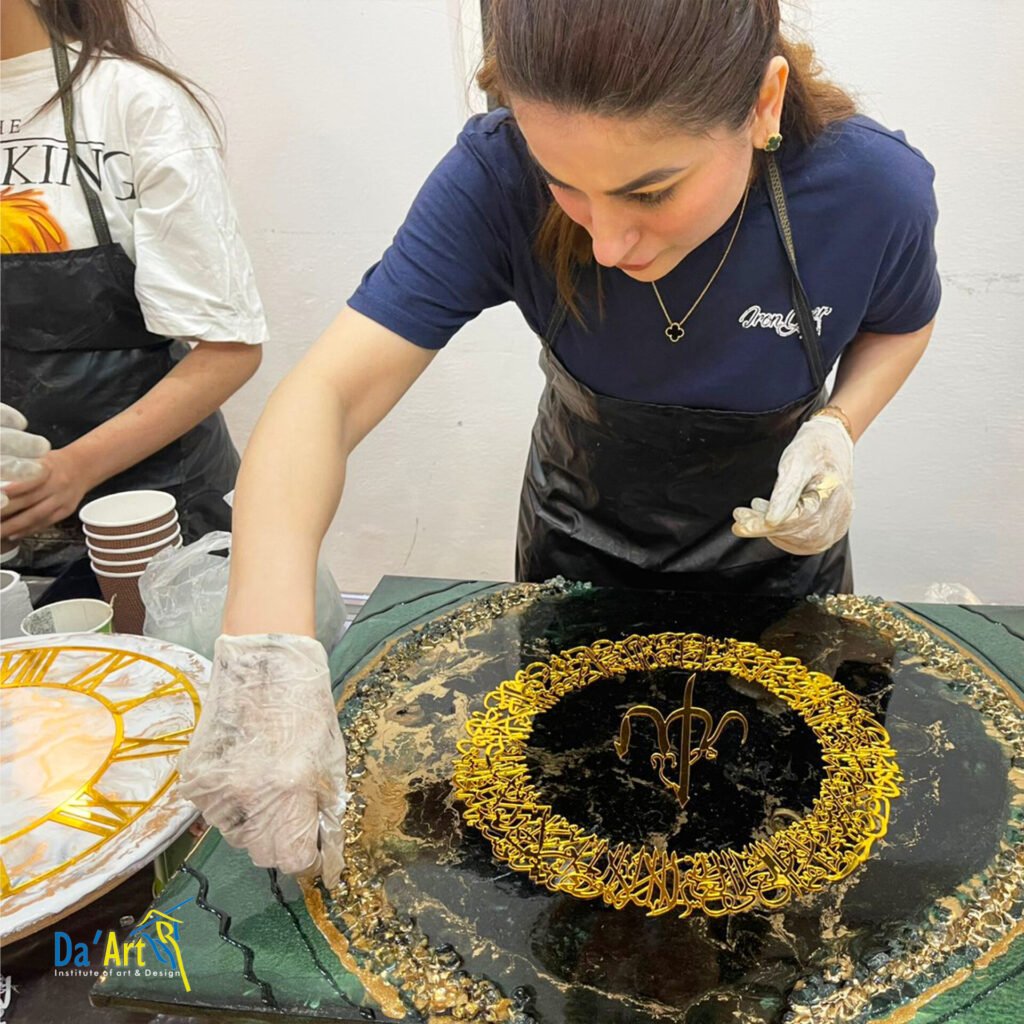
18 x 24-Inch Calligraphic Geode: A large, luxurious wall-art piece featuring textured crushed glass and Islamic/Custom calligraphy.
Portfolio & Final Takeaways
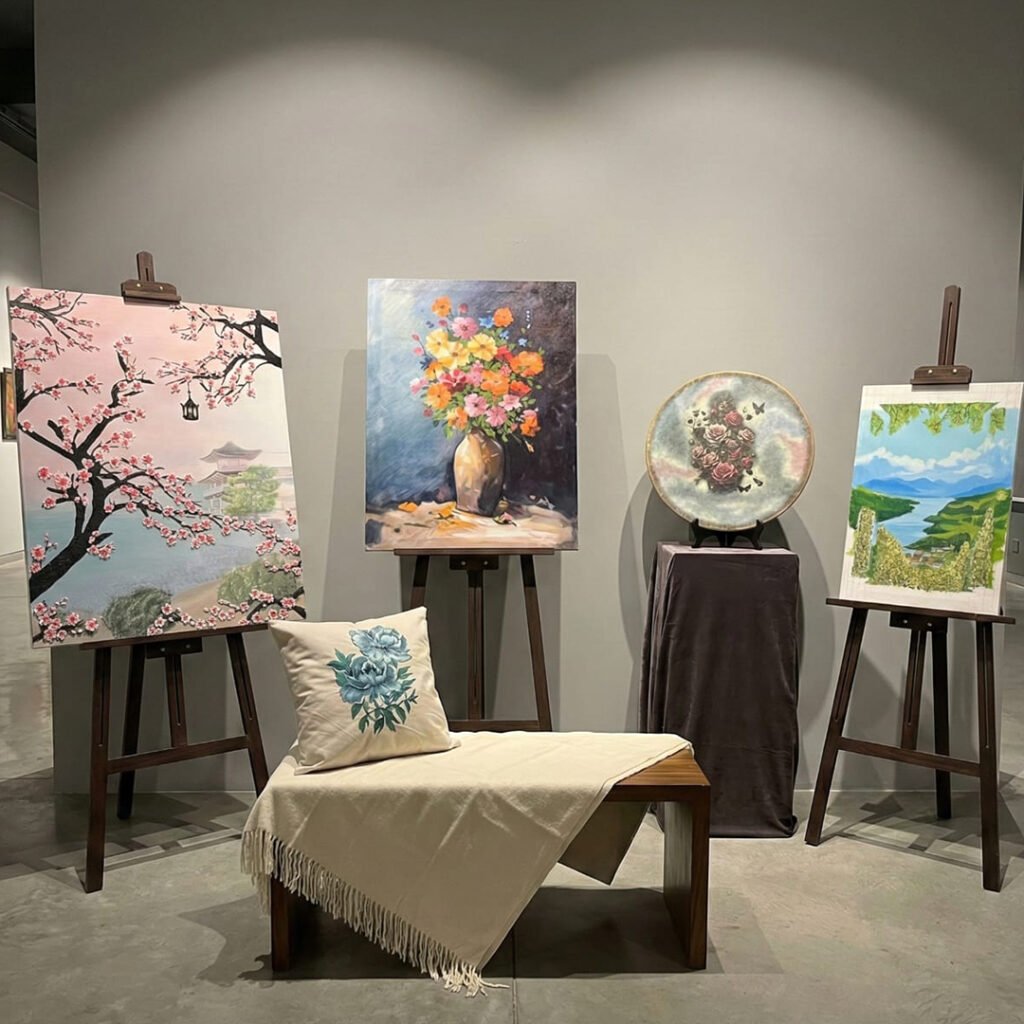
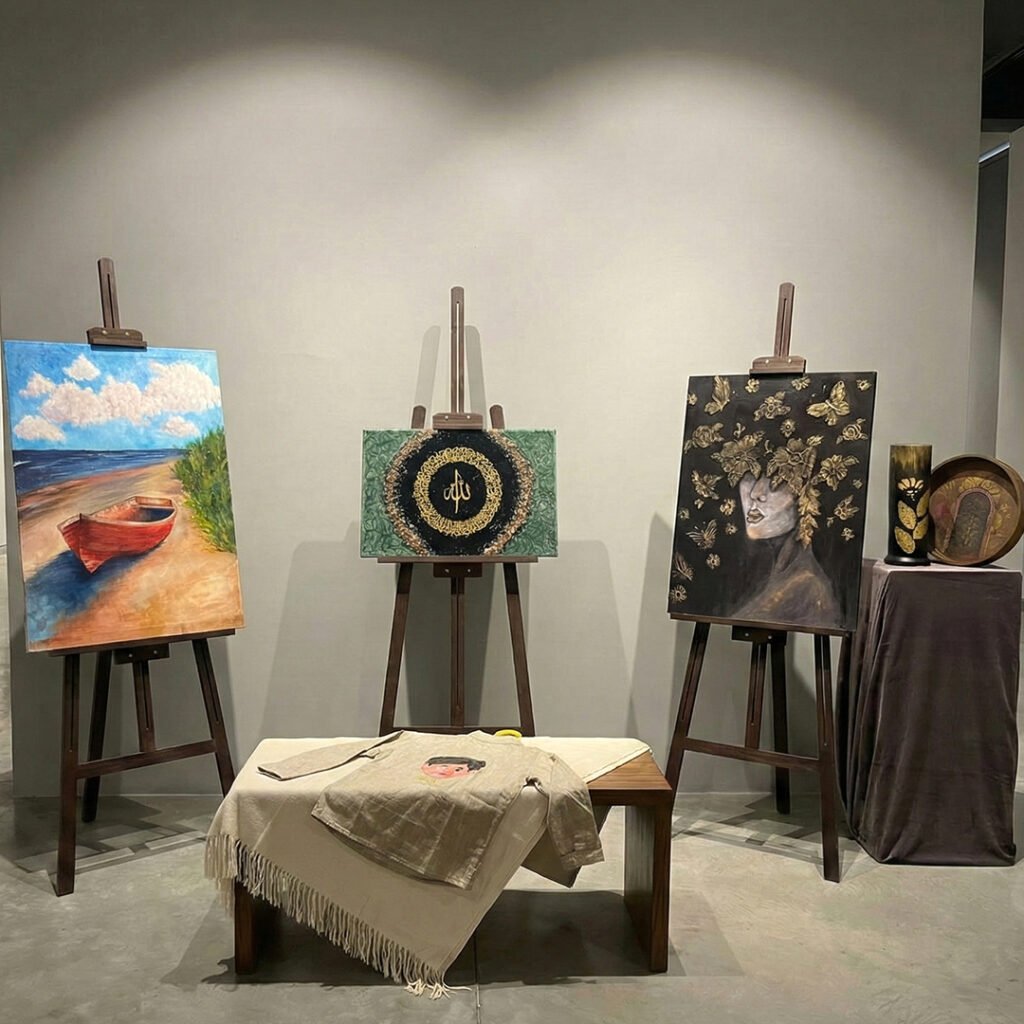
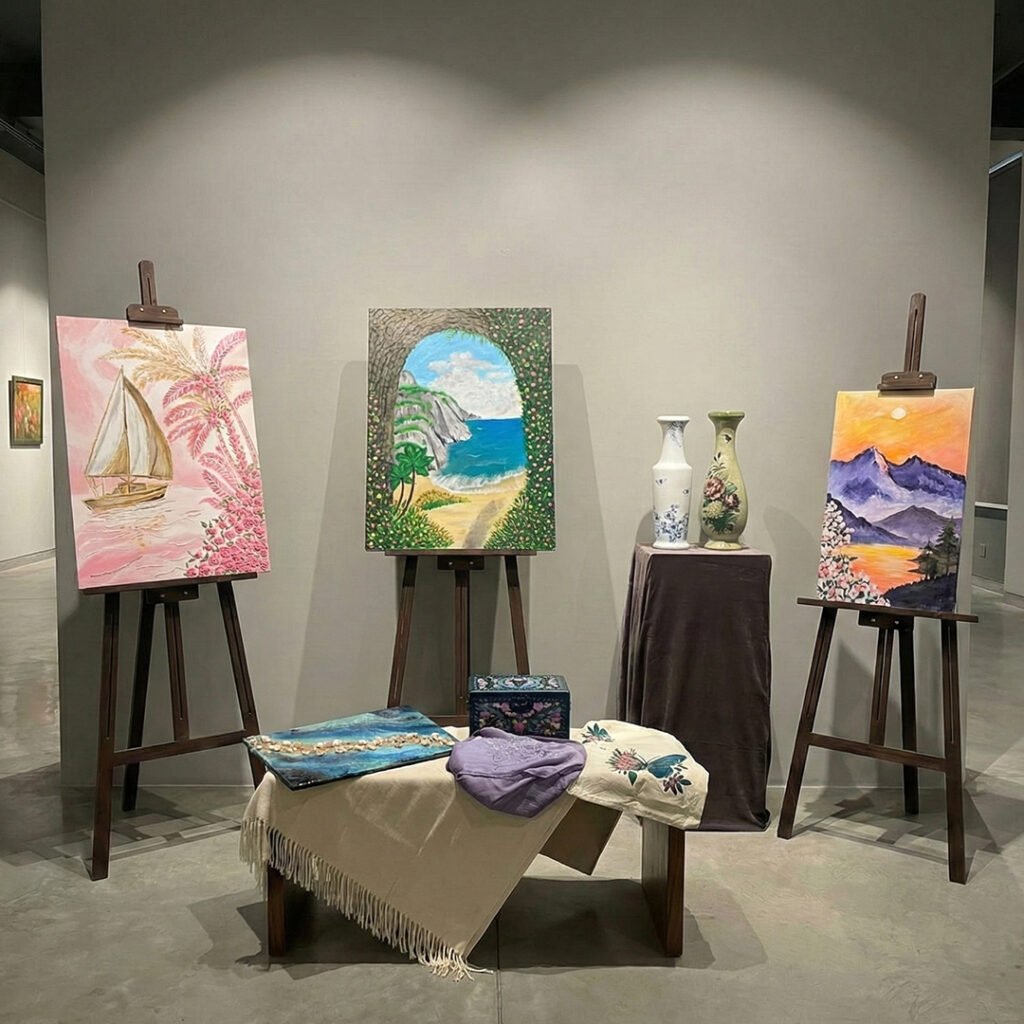
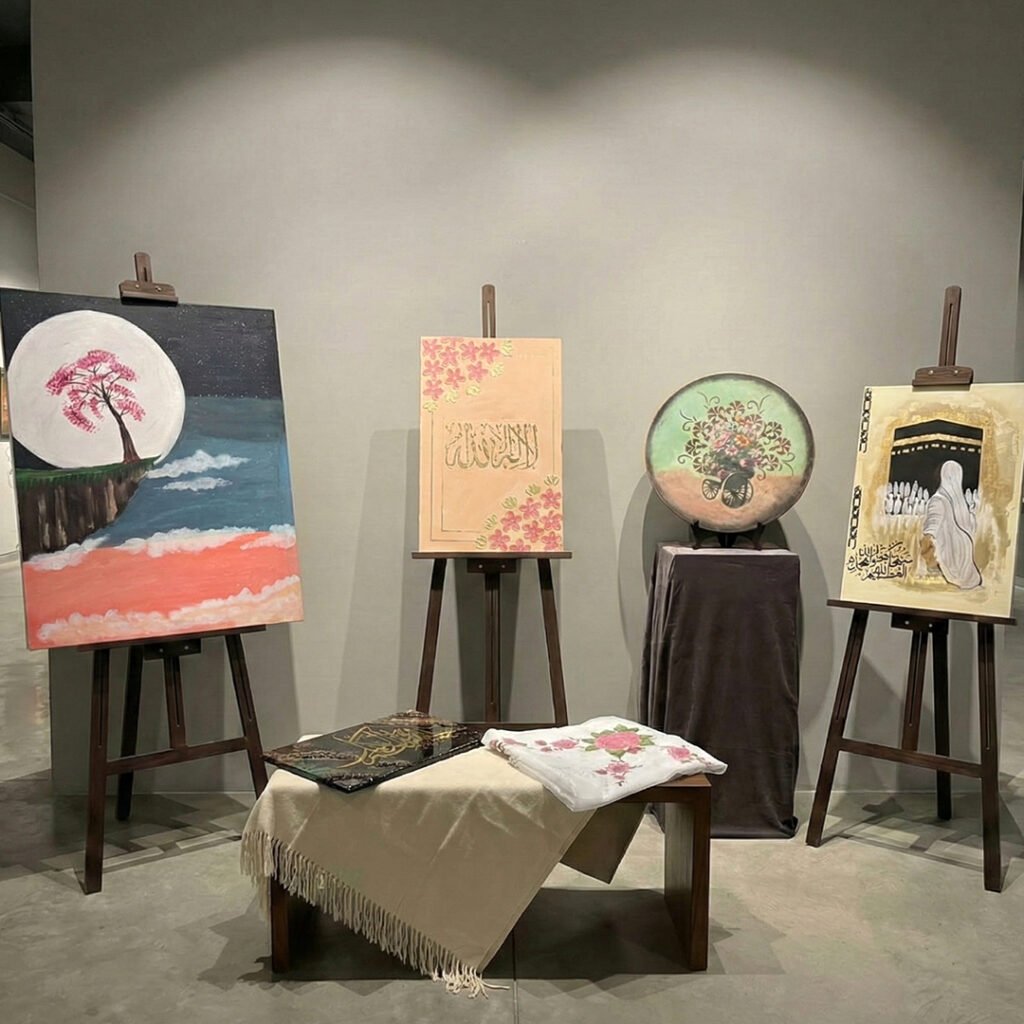
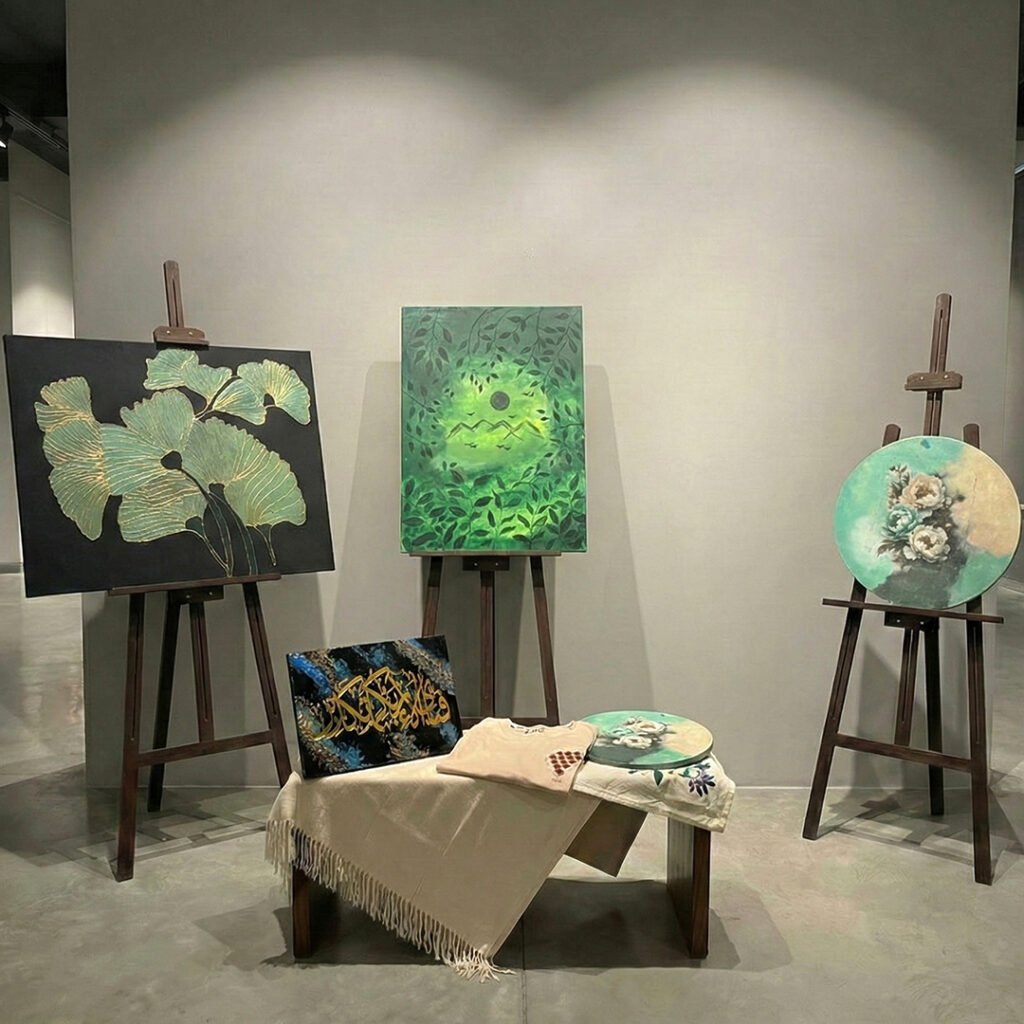
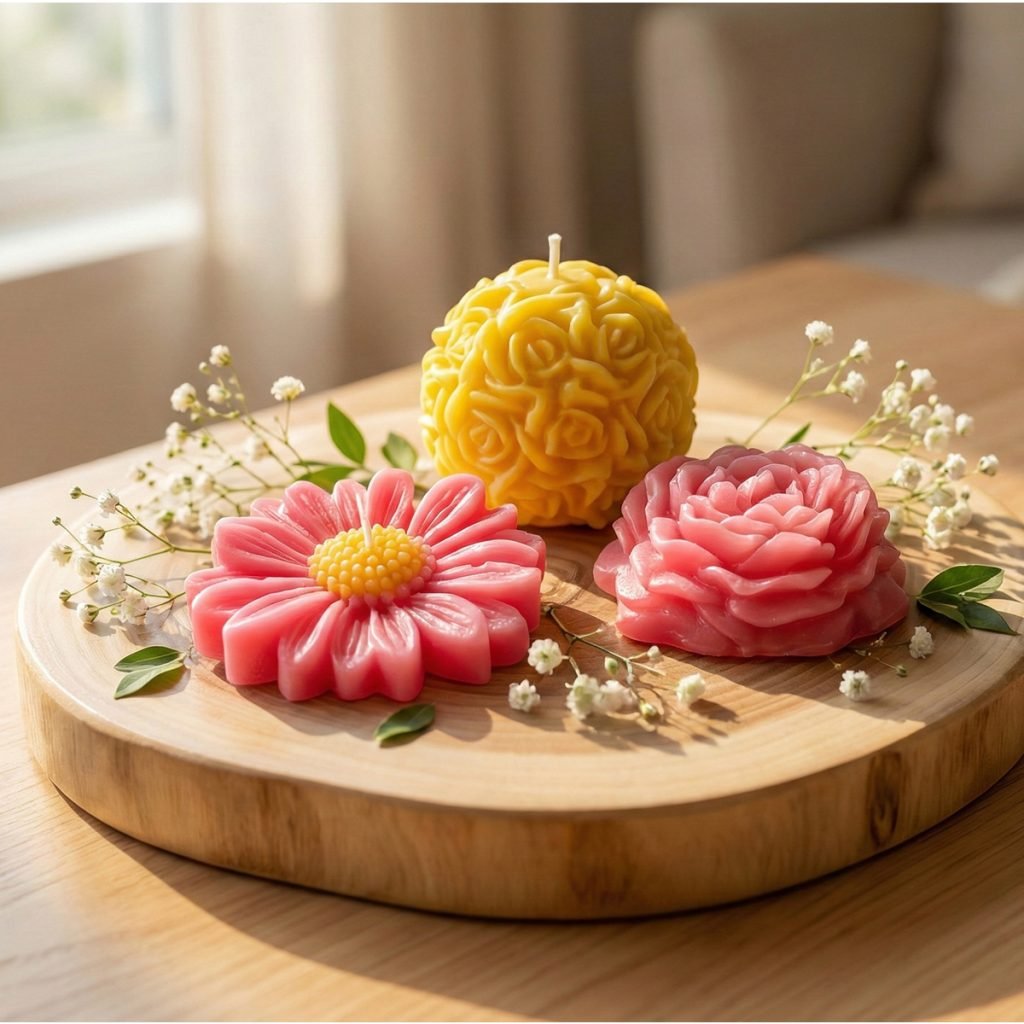
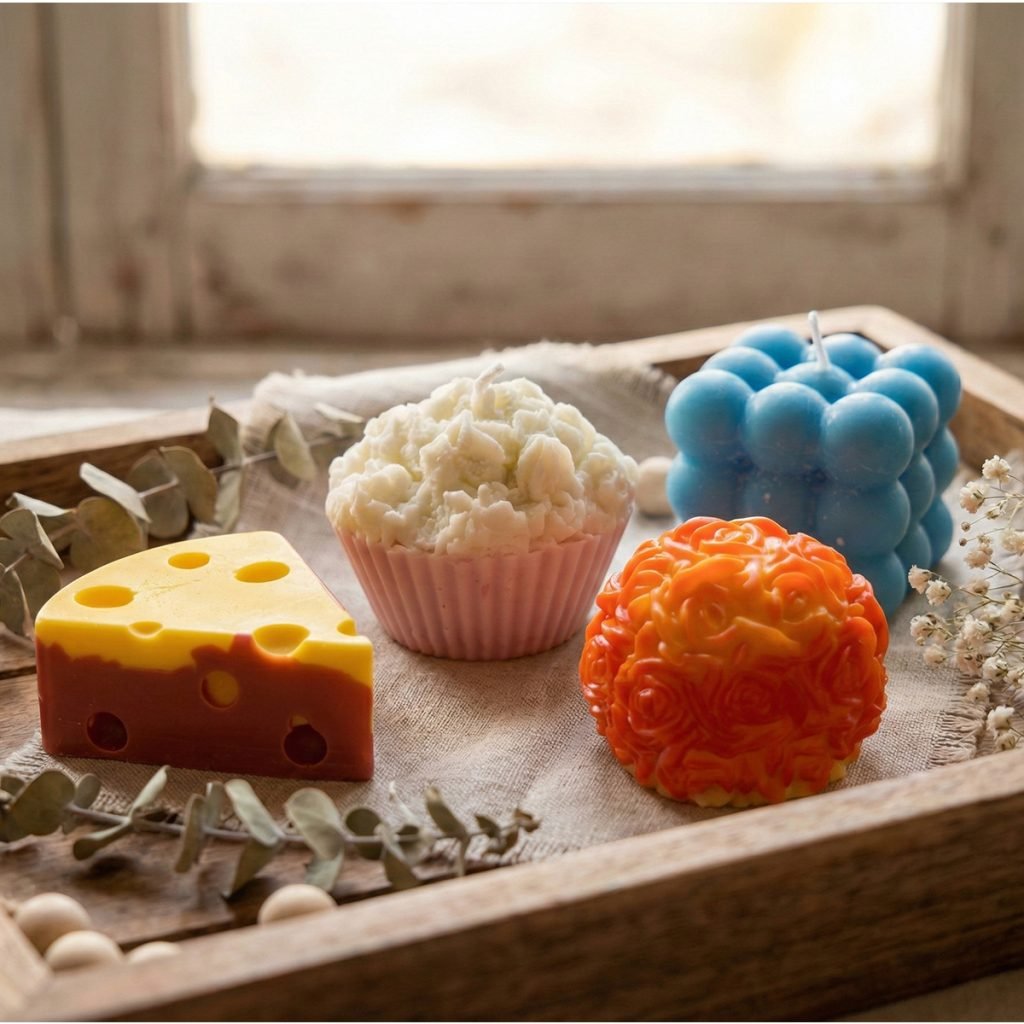
Upon completing this intensive one-month arts program, students will have crafted a diverse portfolio of premium, retail-ready products, showcasing their mastery of multiple artistic mediums.
Their collection will feature stunning, display-ready artwork, specifically comprising:
- Texture Painting Canvases (Sculptural and layered art)
- Candle Making Pieces (Scented, shaped & decorative candles)
- Decoupage Decorative Pieces (Custom flat-lay and curved surfaces)
- Resin Art Masterpieces (Glossy, fluid art designs)
Collectively, these projects demonstrate a versatile and professional skill set, equipping each graduate with a beautiful, high-end collection of their own handcrafted products to launch a creative business or display with pride.
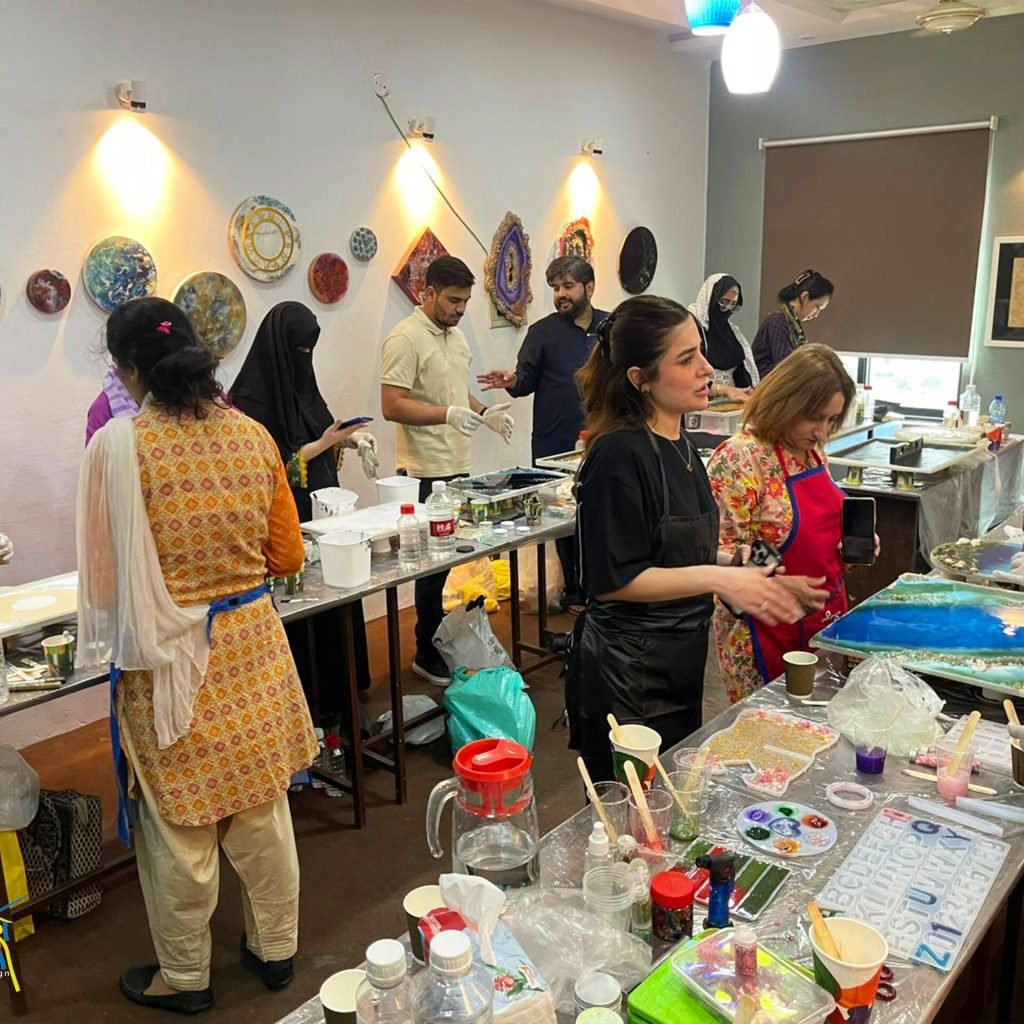
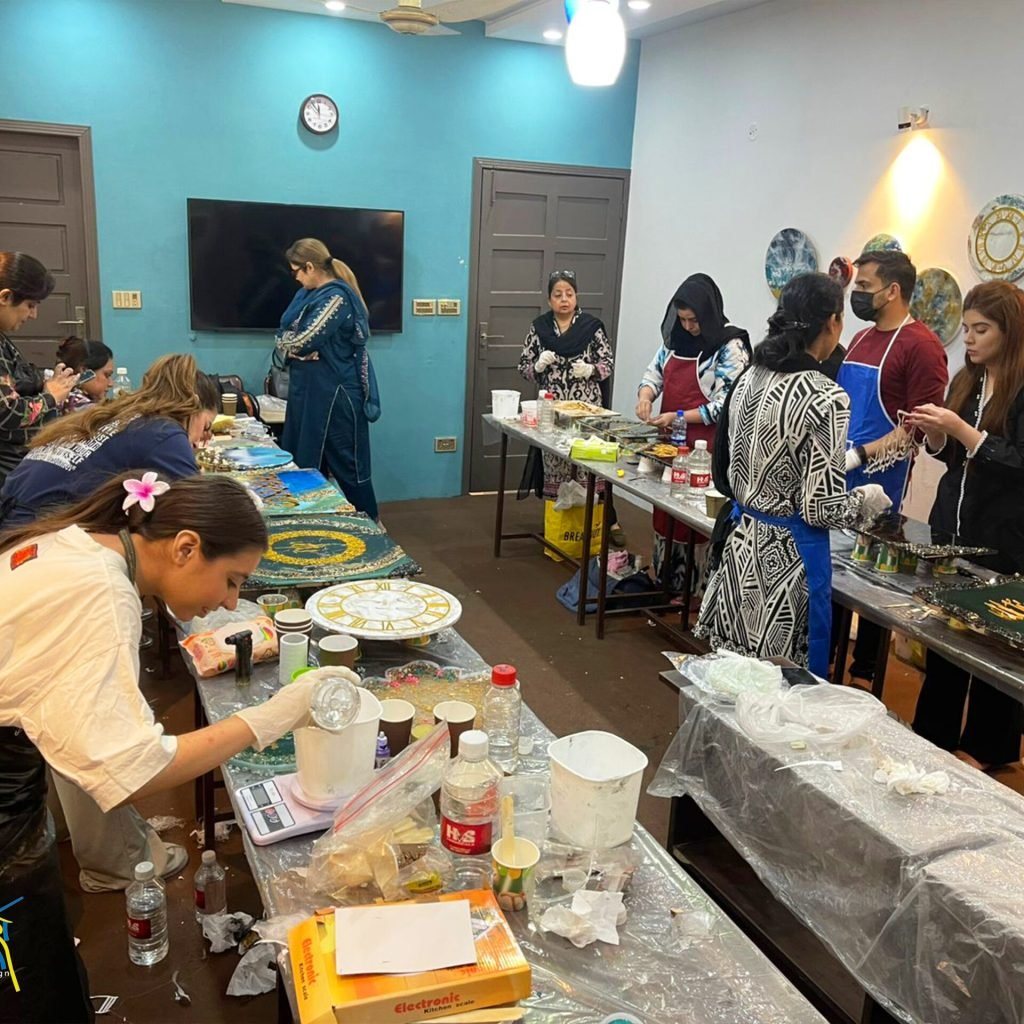
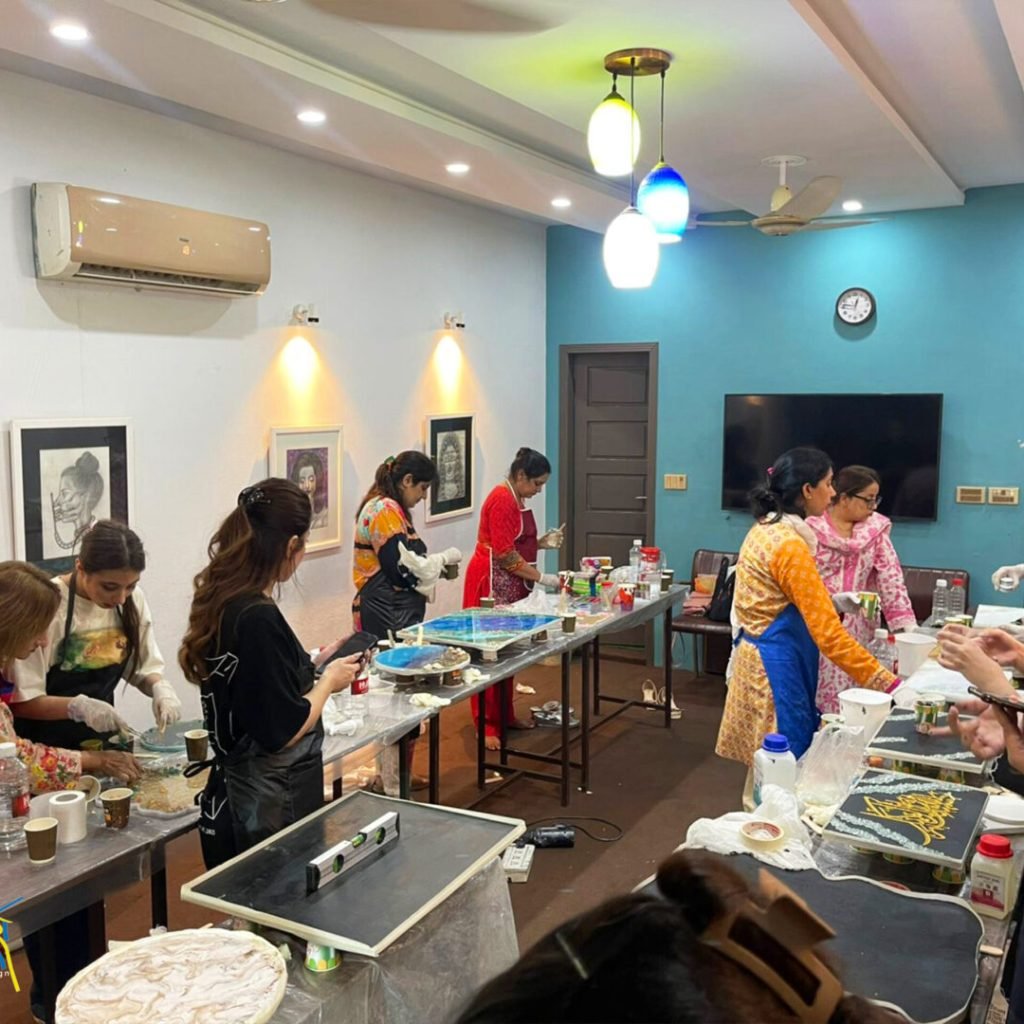
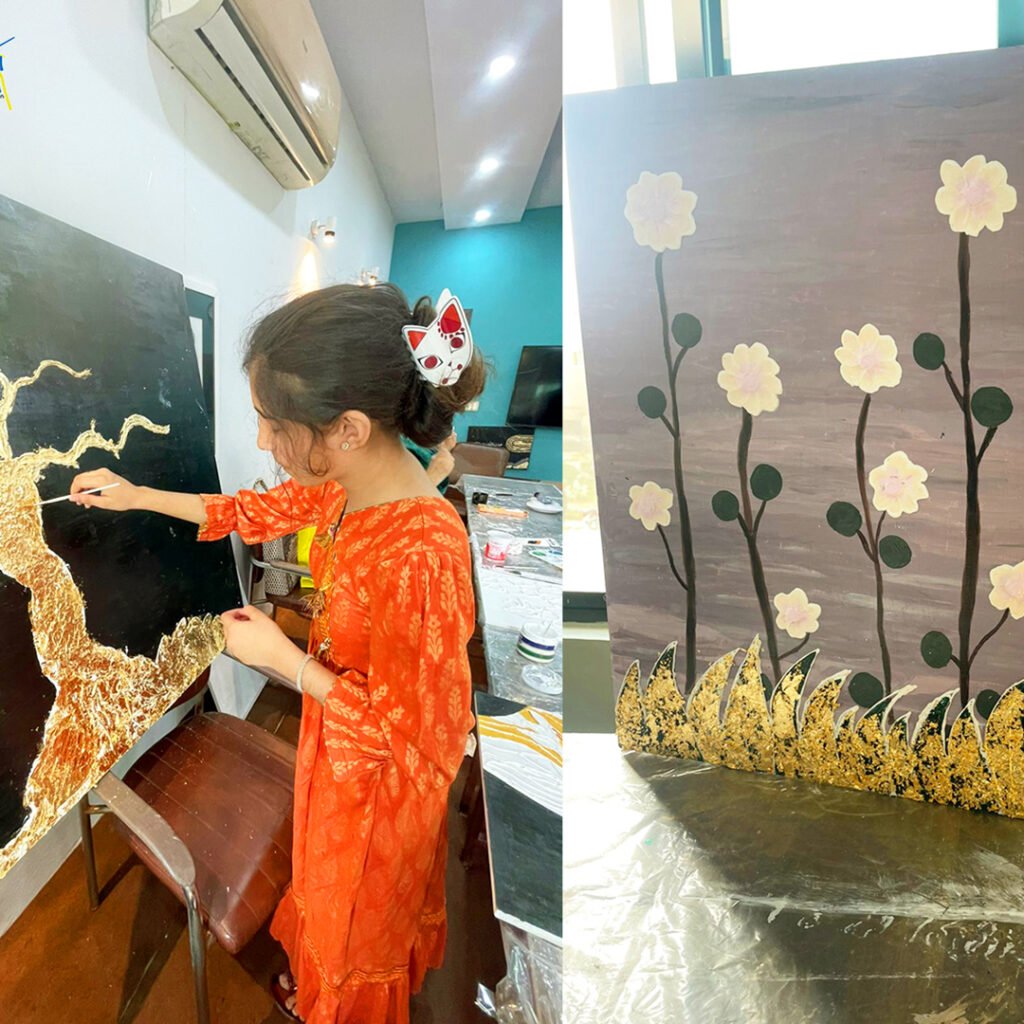
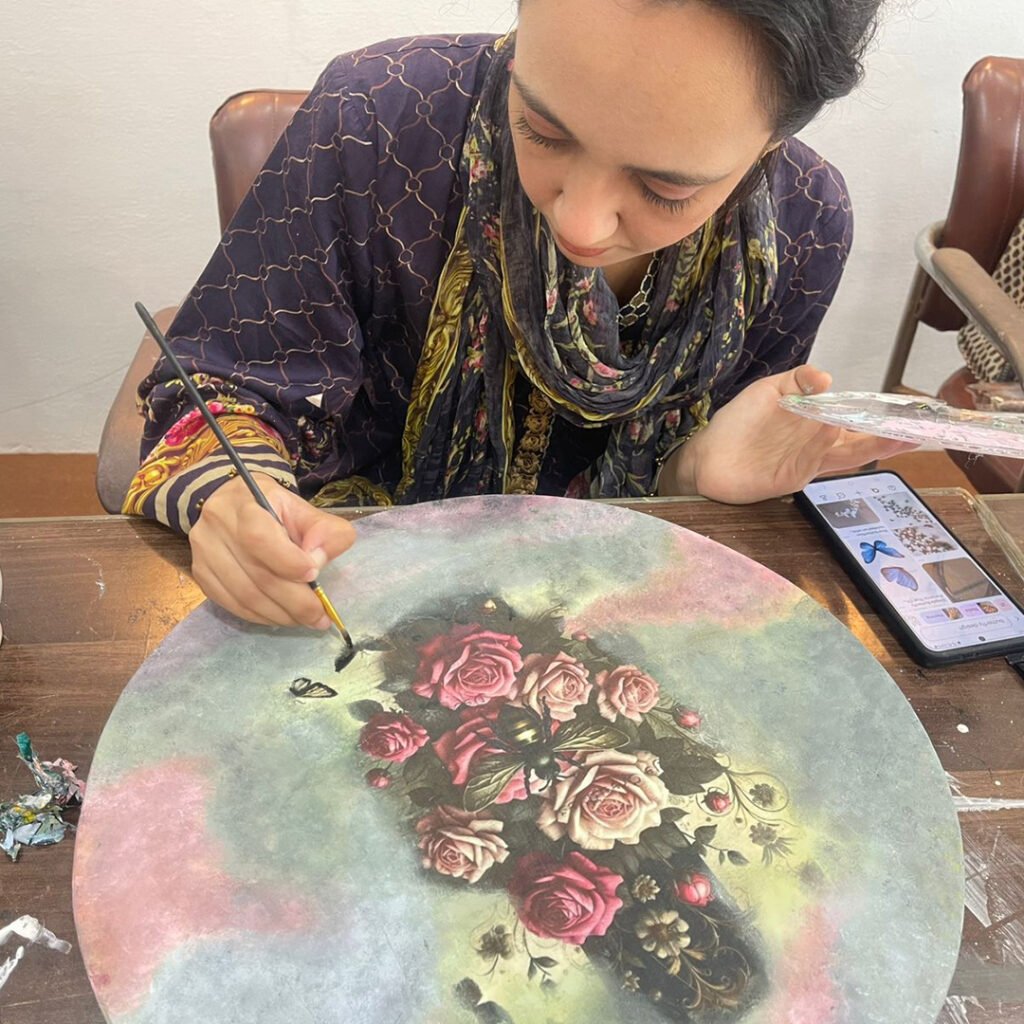
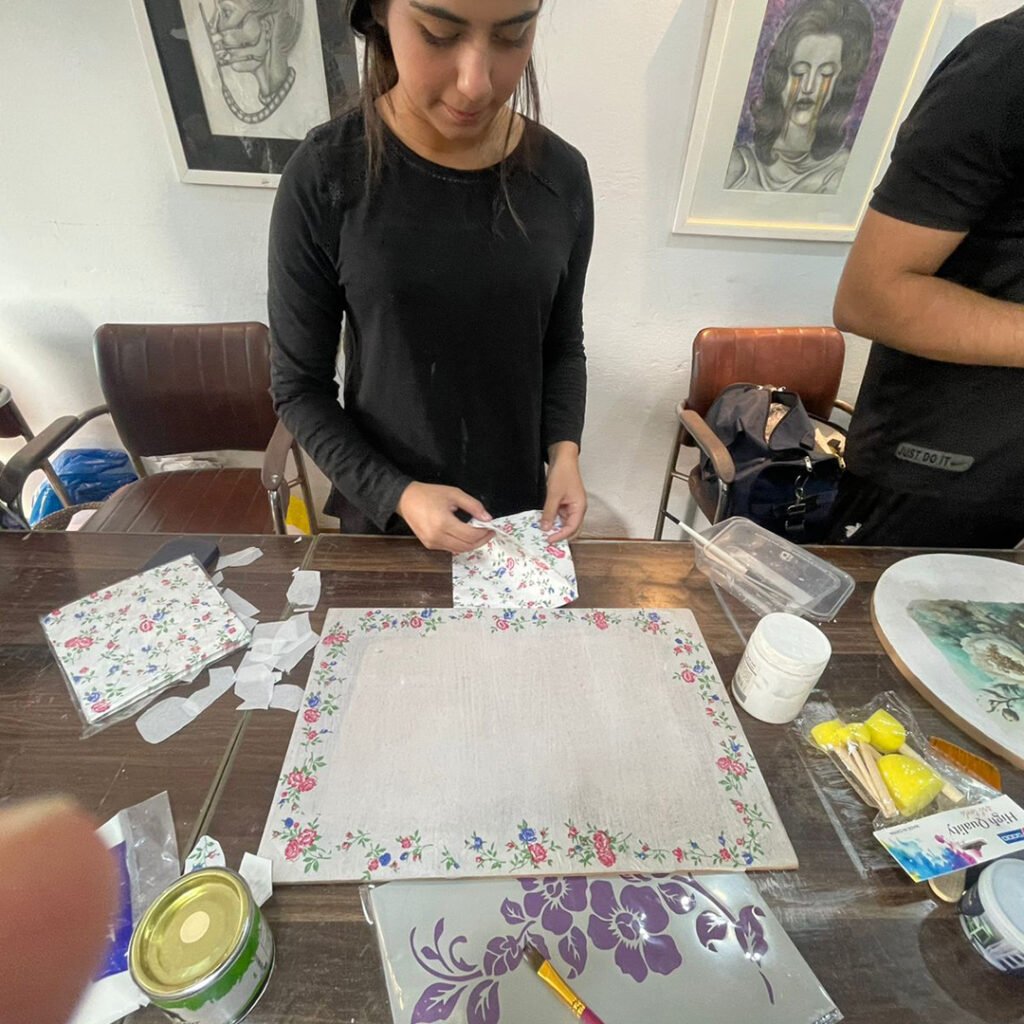
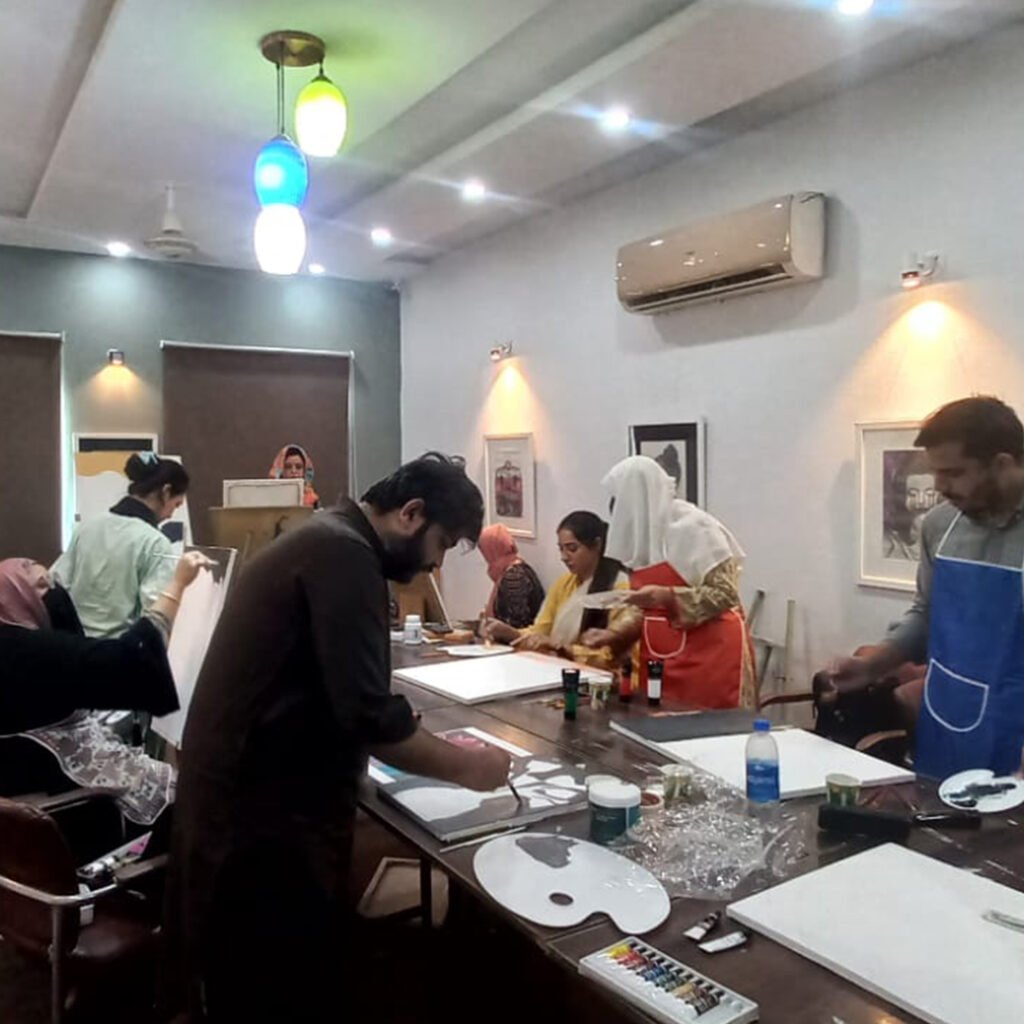
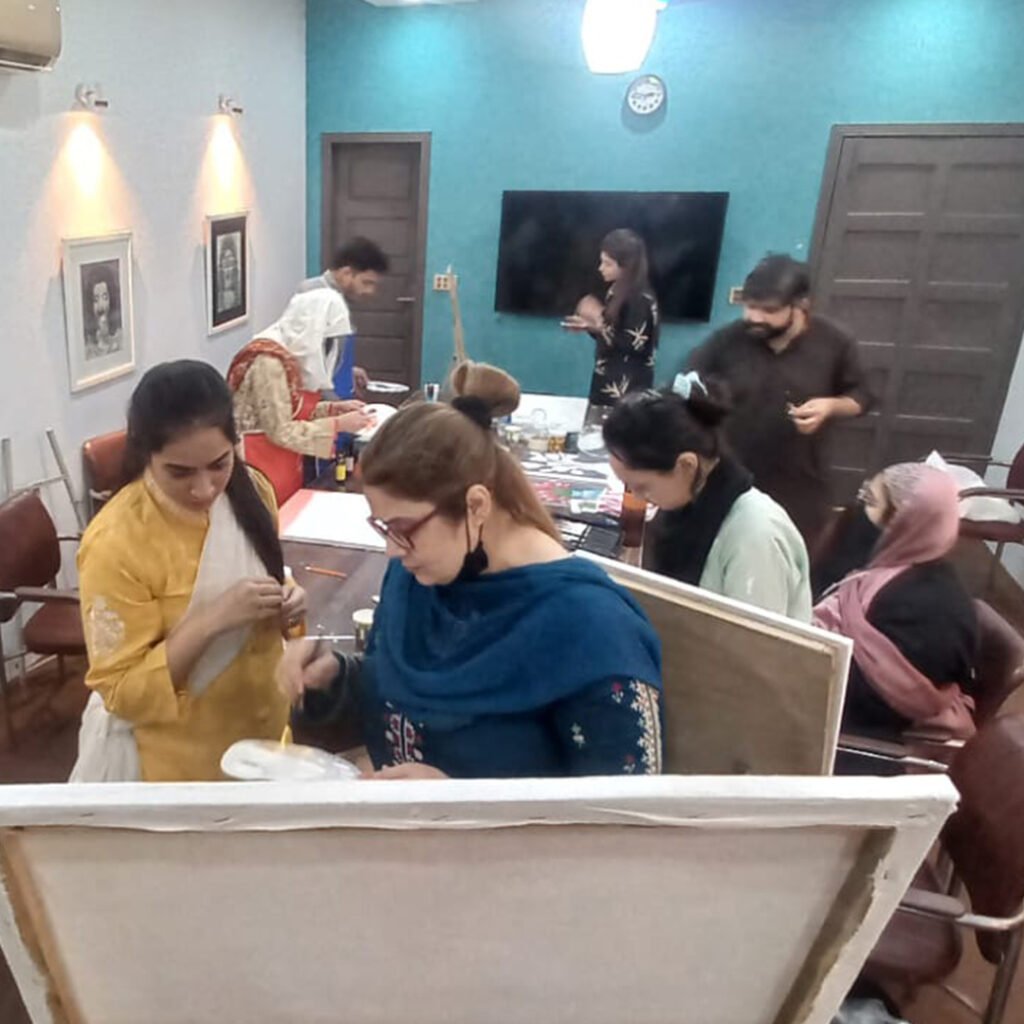
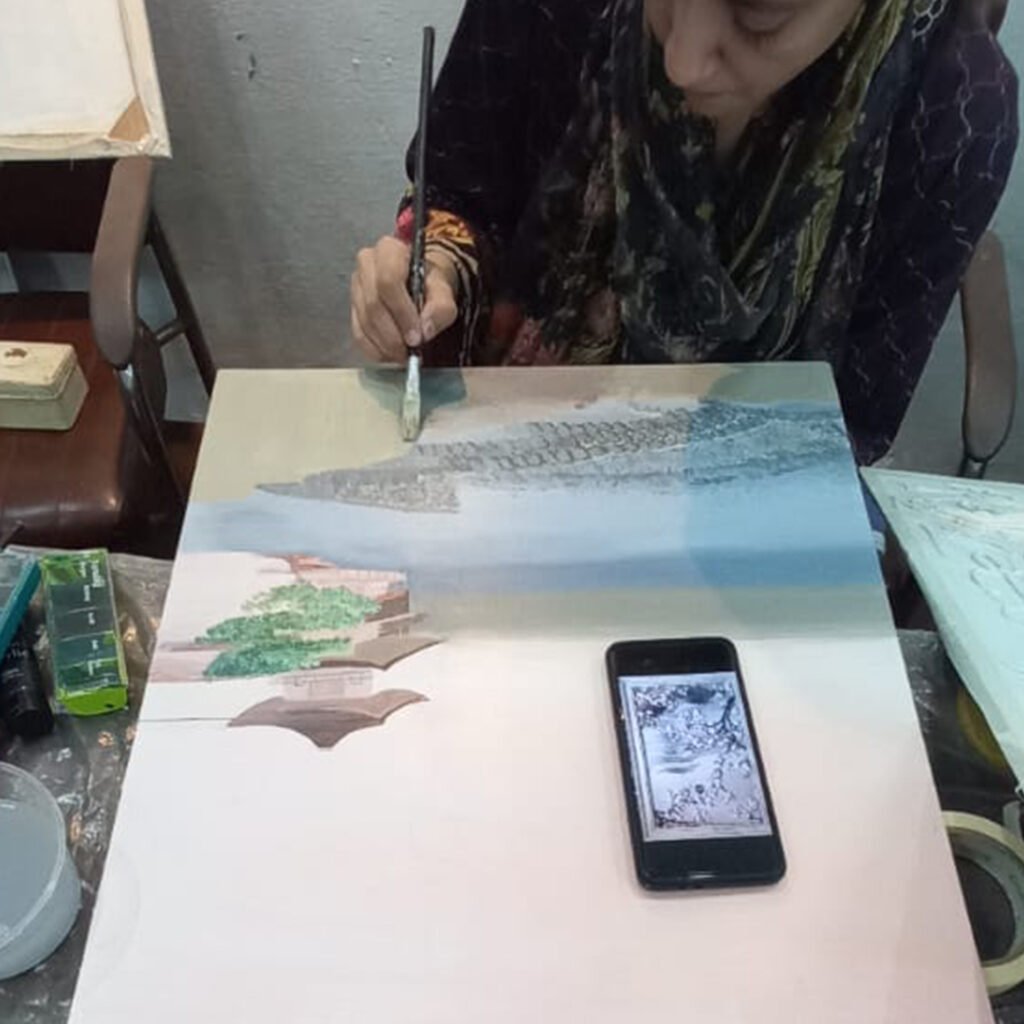
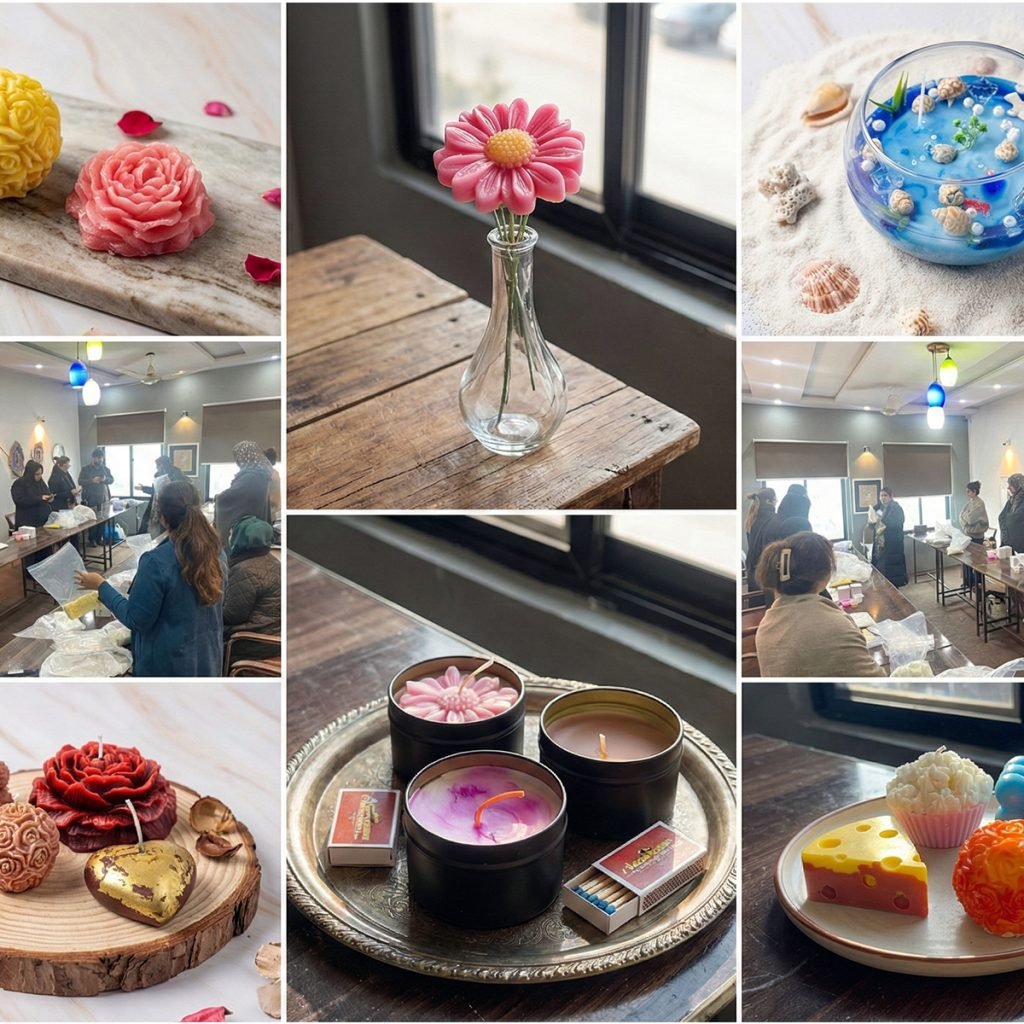
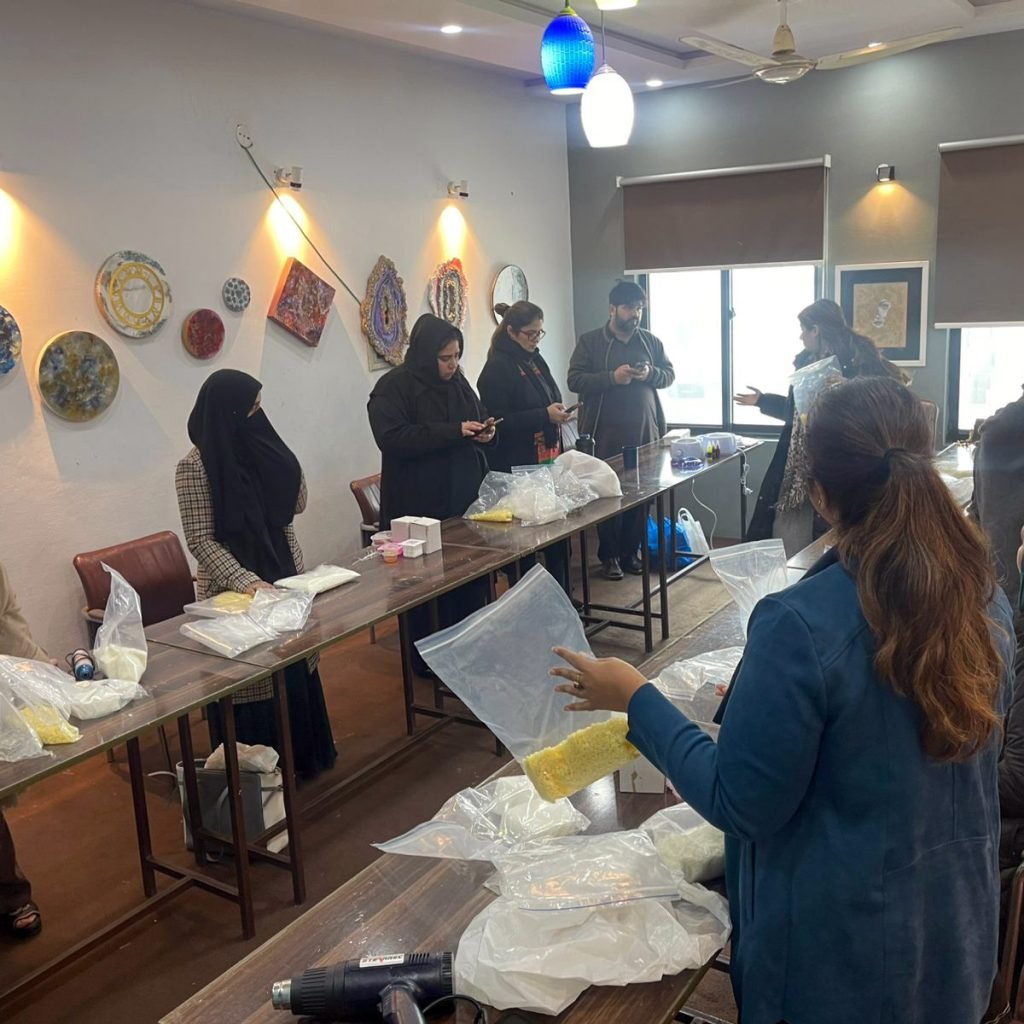
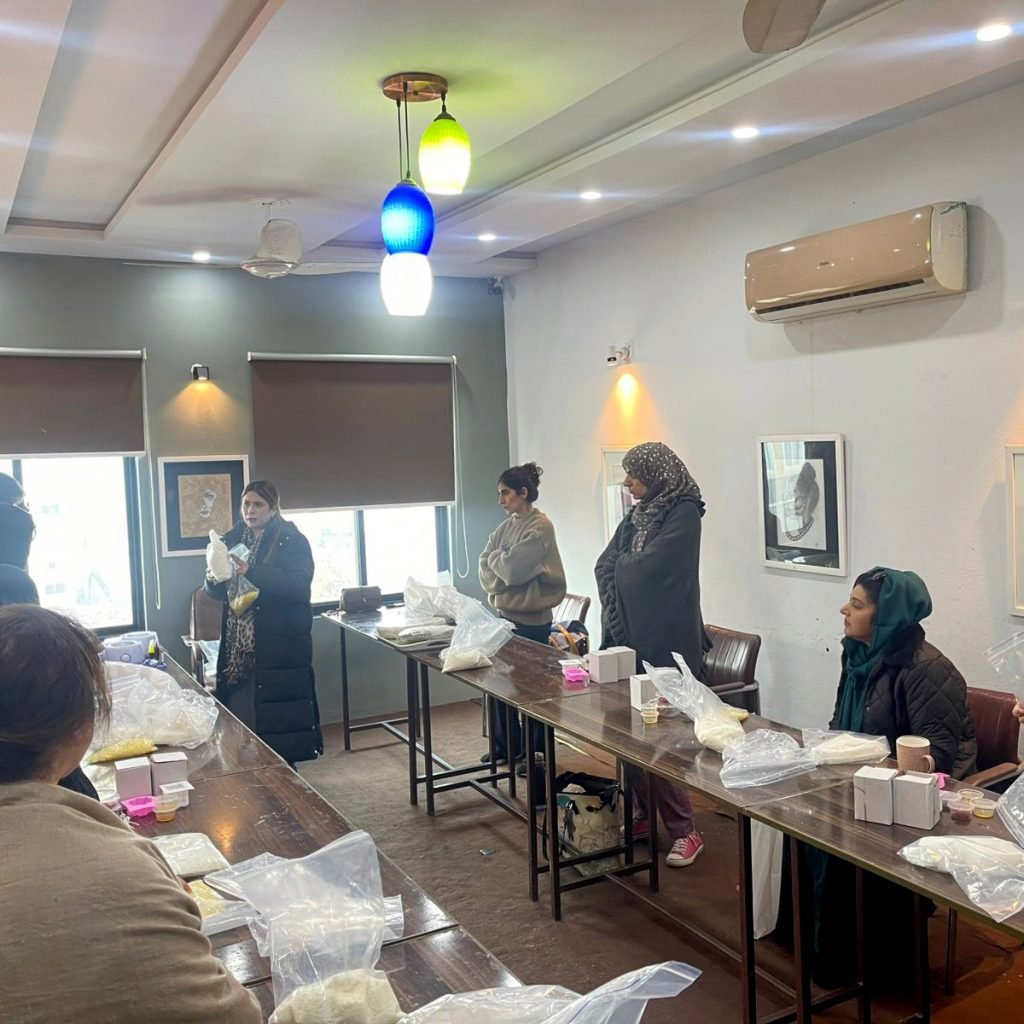
A Glimpse Into Our Class






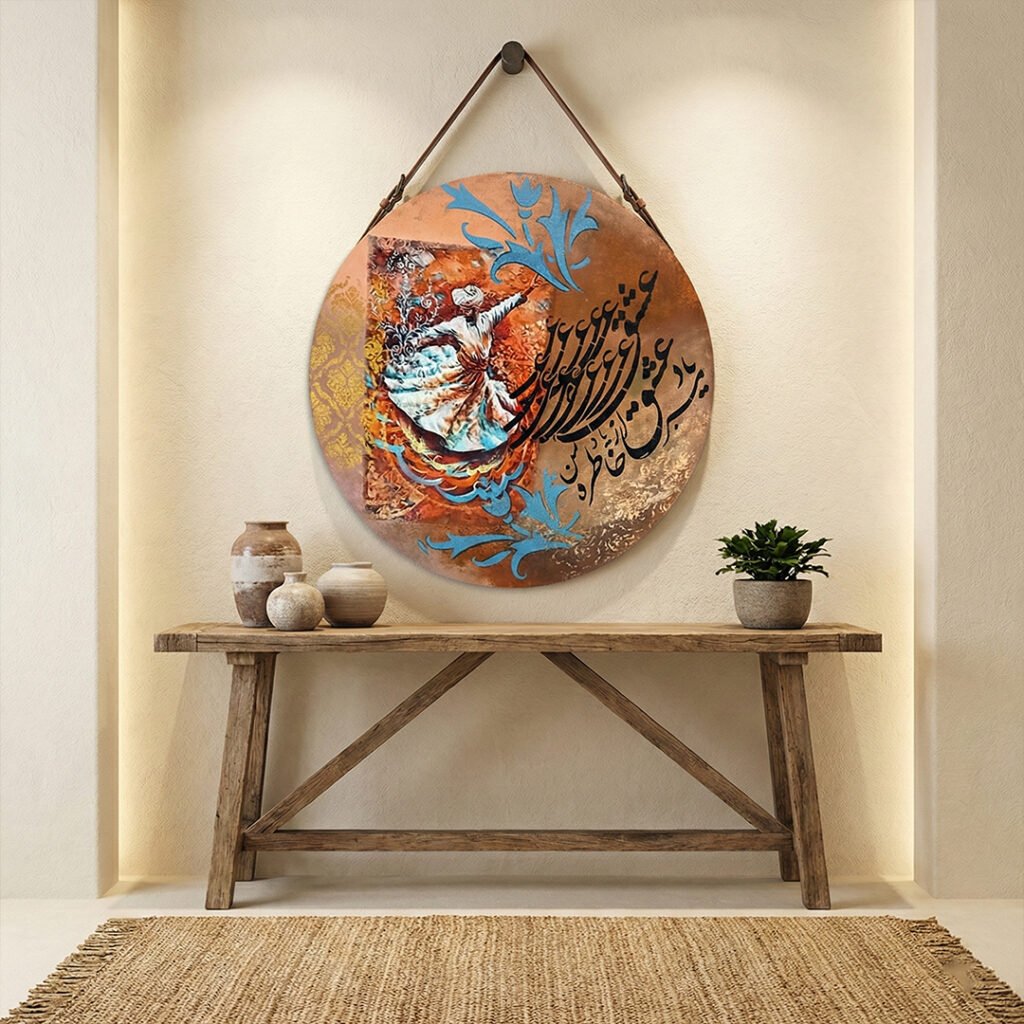
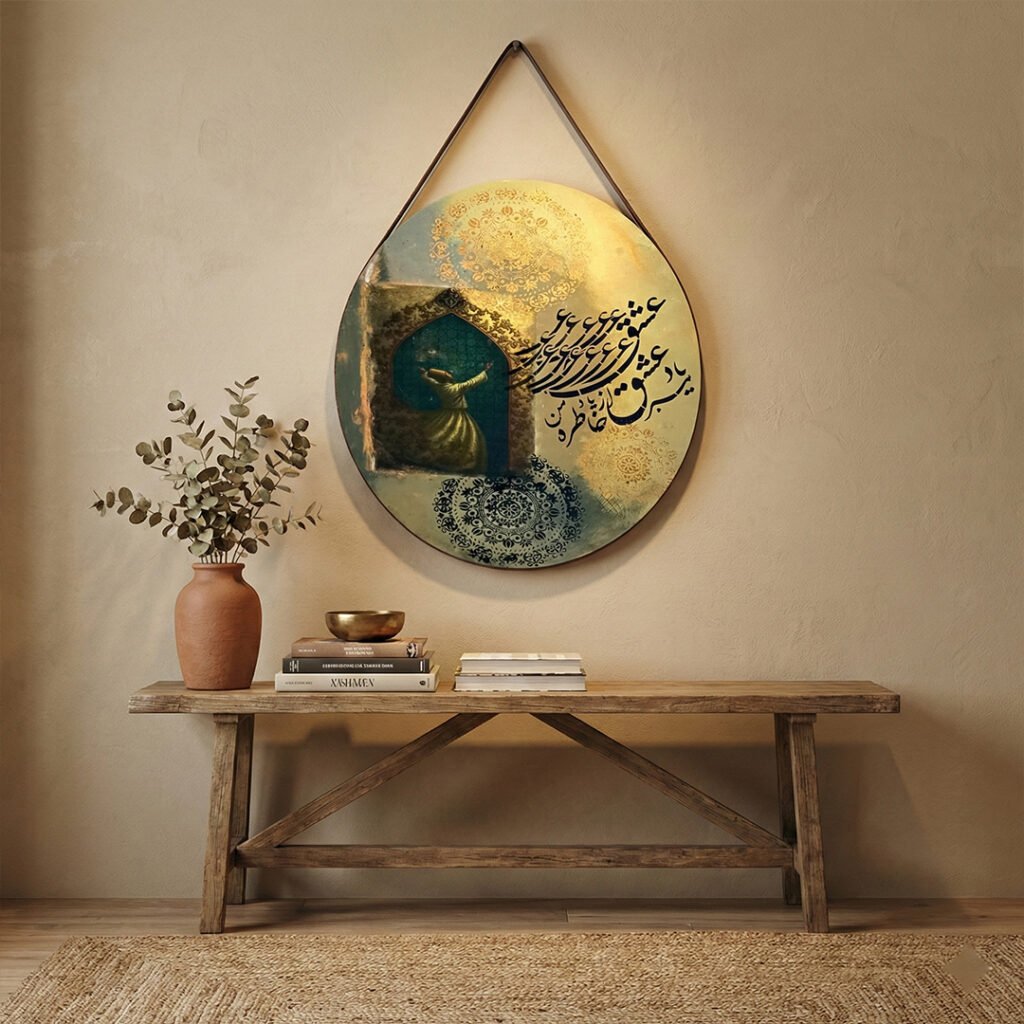
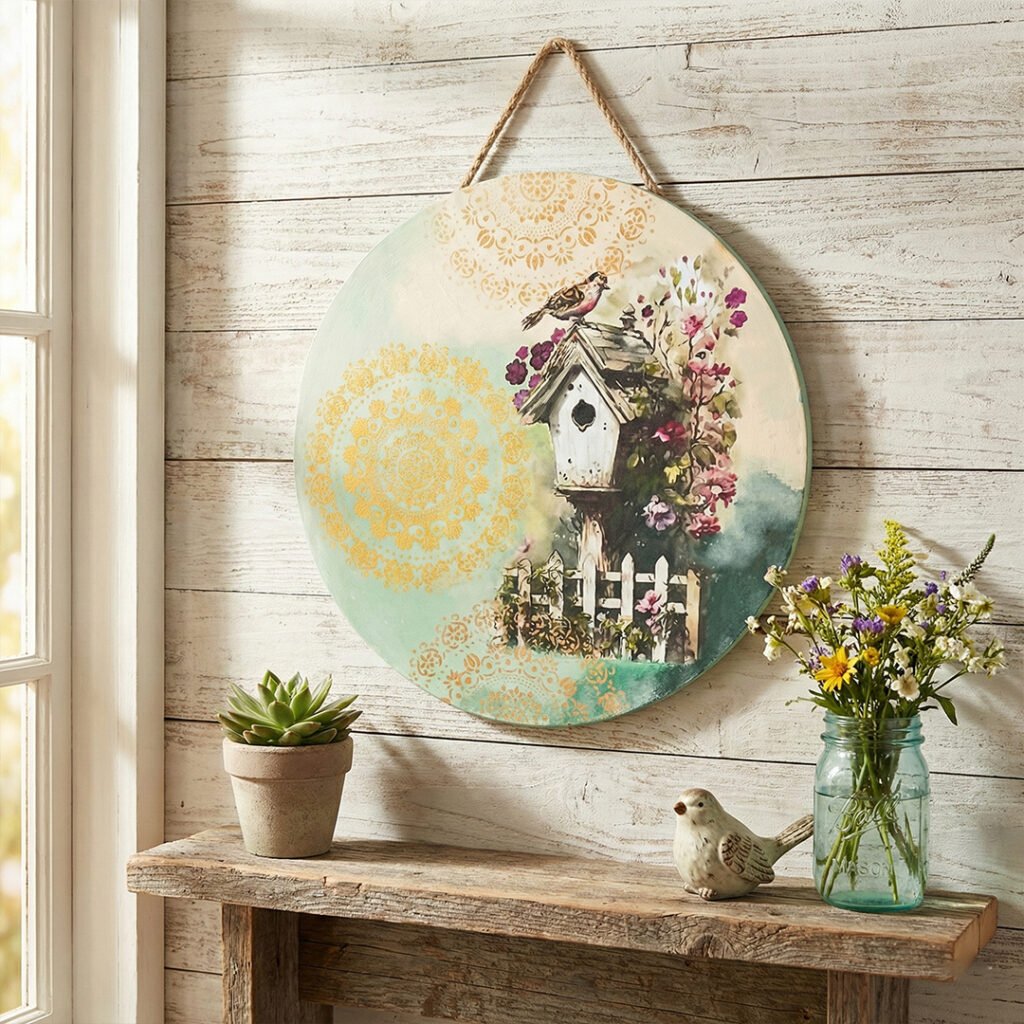
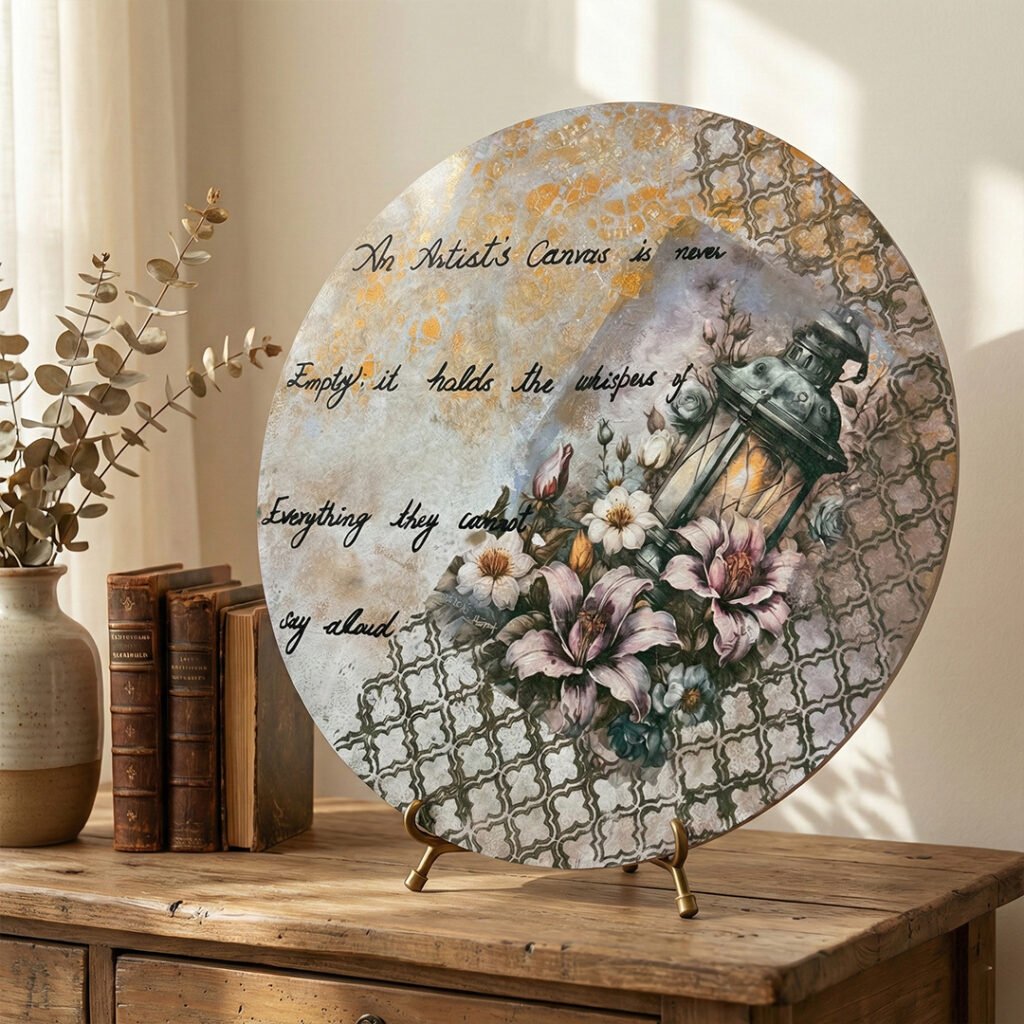
Student's Projects


Discover the Latest in Learning
Upcoming Courses Updates

Unlock Your Creative Journey
Registration Form
Welcome to DA’ ART’s Registration! Fill in your basic details, verify your contact number, and start exploring our creative community. Your DA’ ART journey starts here!

